Il calendario di Microsoft Office fa parte dei prodotti Microsoft 365 e non è un programma autonomo. Per accedere a Microsoft Office Calendar, dovresti utilizzare Microsoft Outlook.


L’integrazione di entrambe le app semplifica la gestione della pianificazione sia da una prospettiva digitale che fisica. Tuttavia, se desideri gestire meglio il tuo Calendario di Microsoft Outlook, dovresti provare alcuni dei suggerimenti di seguito.
1. Come impostare l’orario di lavoro sul calendario di Outlook
L’impostazione dell’orario di lavoro su Outlook garantisce che chiunque visualizzi il calendario conosca l’orario di lavoro disponibile. In questo modo, gli appuntamenti e le riunioni sono stabiliti dai periodi disponibili.
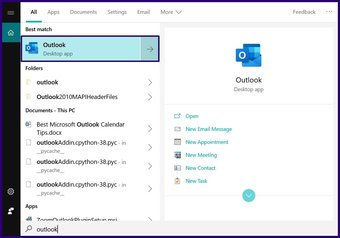
Fase 1: Avvia l’app Outlook.


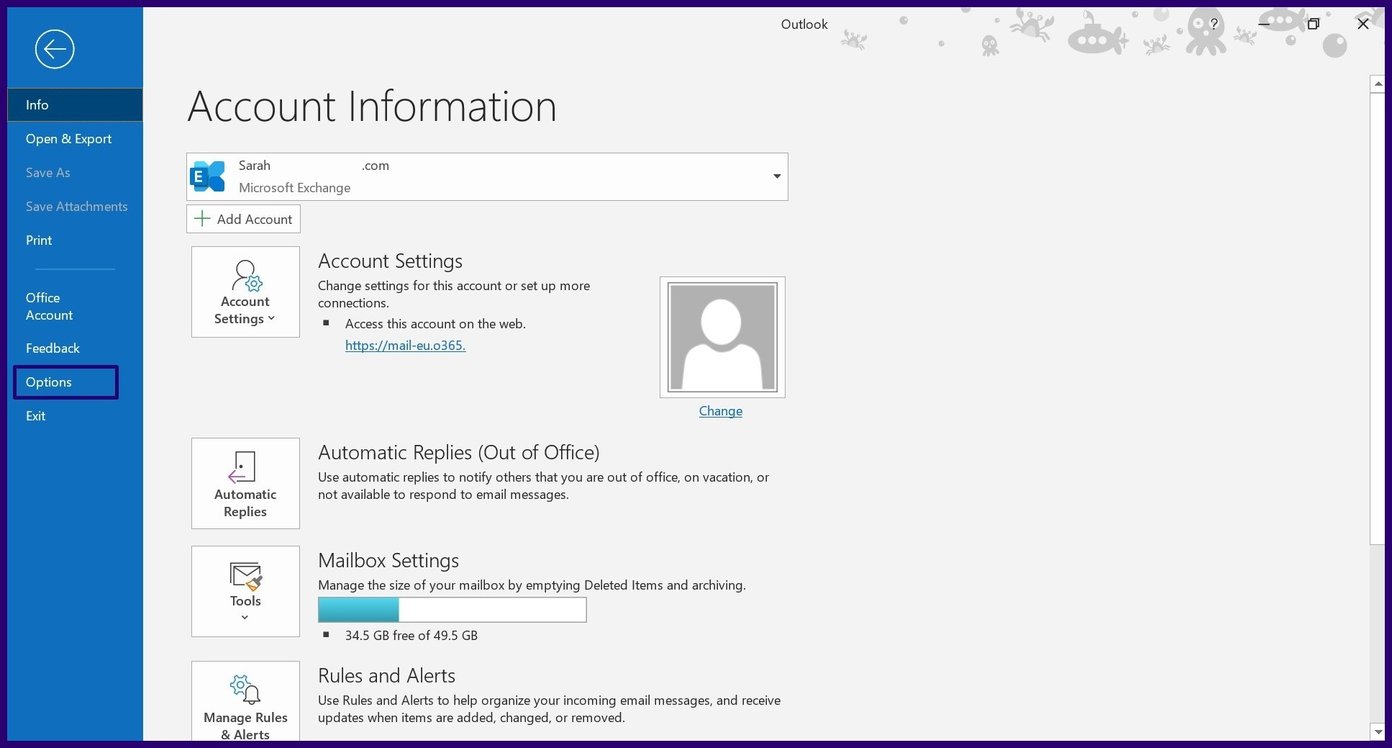
Passaggio 2: Dopo aver avviato Outlook, fai clic sulla scheda File.


Passaggio 3: Fai clic sul pulsante Opzioni.
Passaggio 4: Seleziona il calendario.
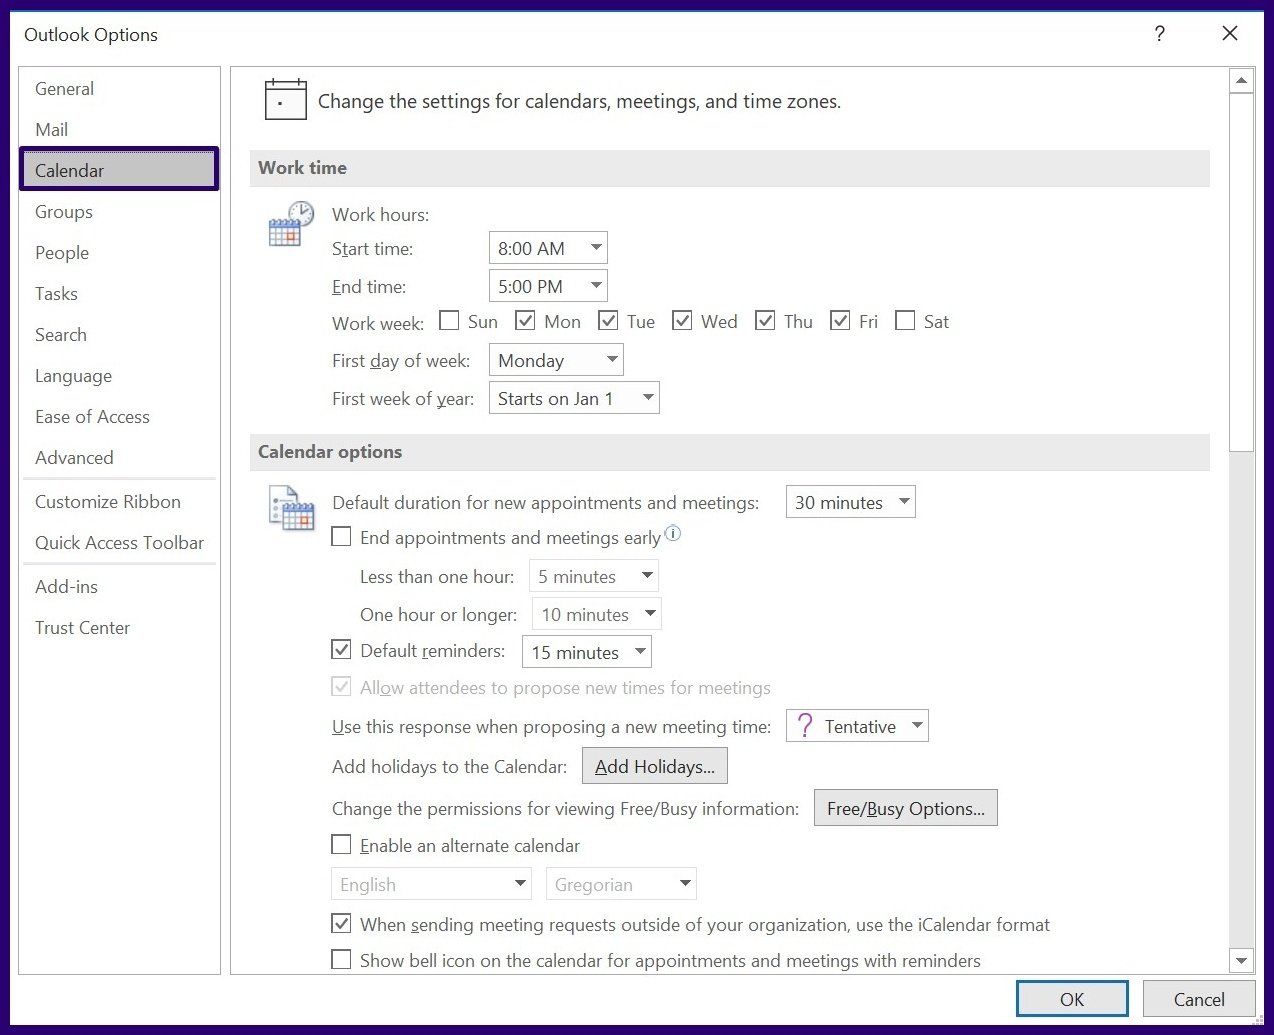

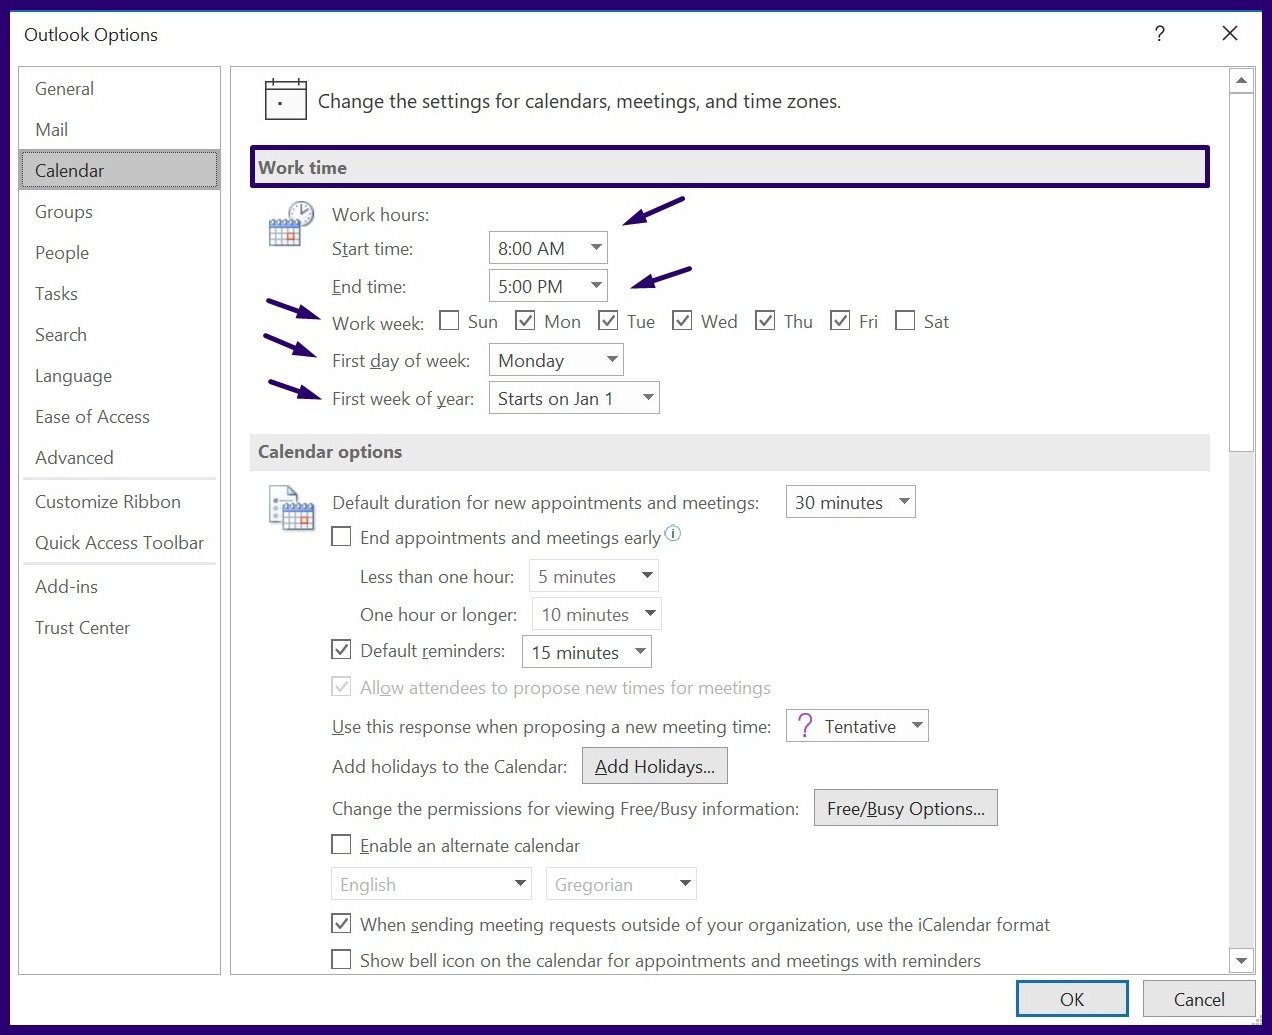
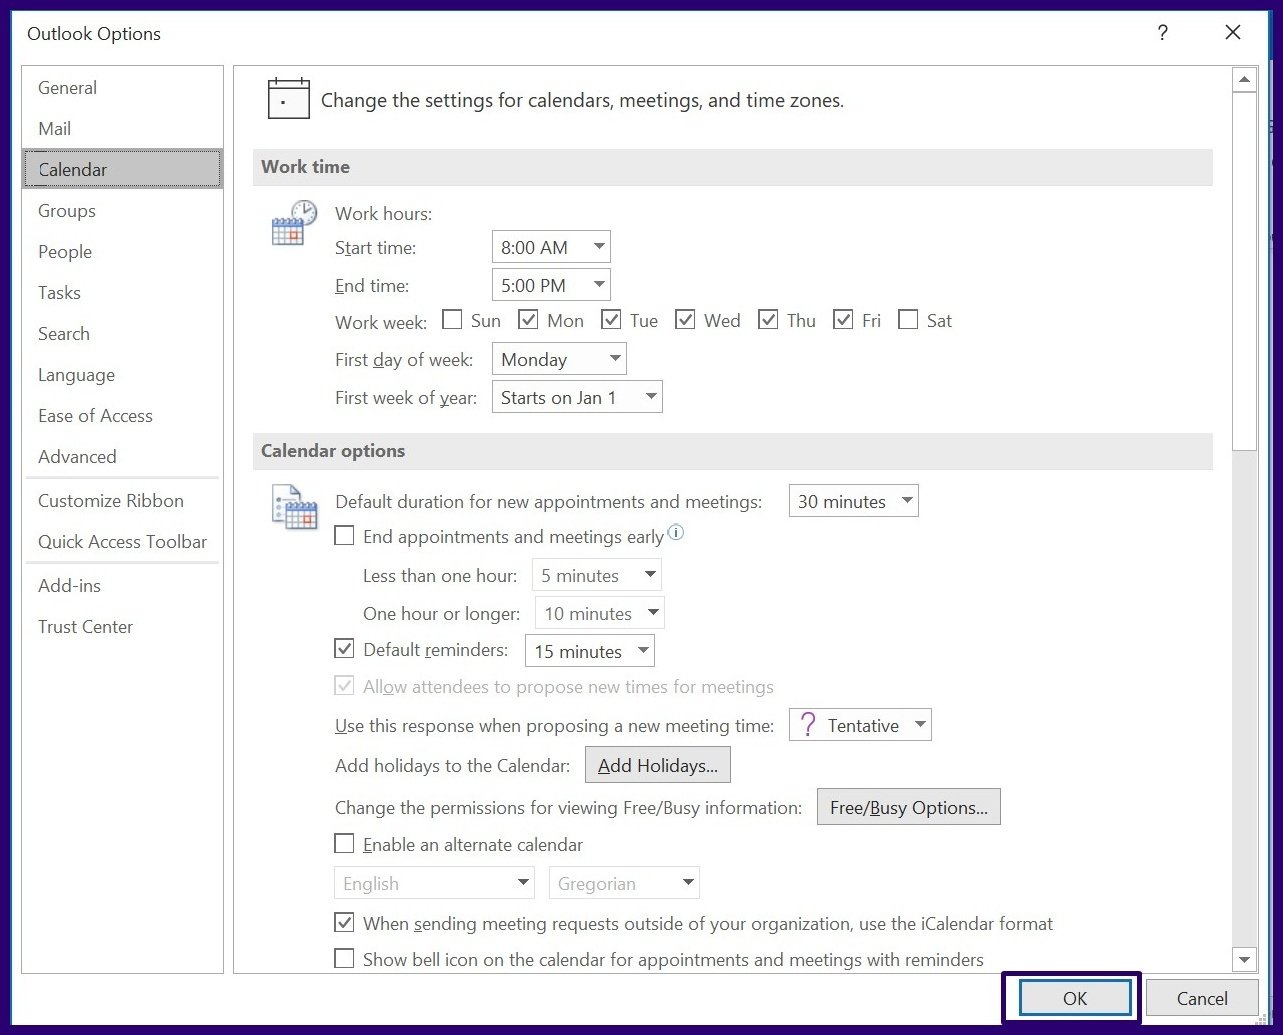
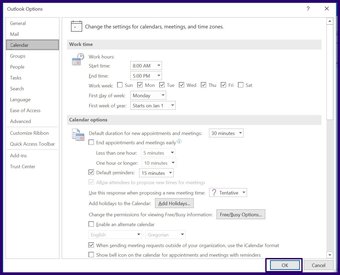
Passaggio 5: Nel menu Orario di lavoro, inserisci i dettagli dell’ora di inizio e di fine , Settimana lavorativa, Primo giorno della settimana e Primo giorno dell’anno.
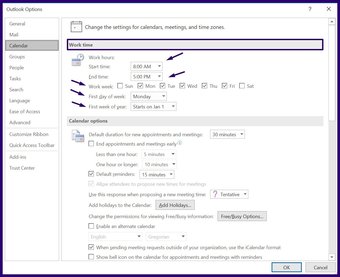
Passaggio 6: Fai clic su OK per salvare le modifiche.
2. Ricreare una riunione
La ricreazione di una riunione è un modo per prenotare una nuova riunione utilizzando le informazioni di una riunione precedente. In questo modo, invece di inserire manualmente i dettagli dei partecipanti alla riunione, l’ora, il luogo e così via, risparmi tempo e fatica ricreando una vecchia riunione. Ecco come farlo.
Passaggio 1: Avvia l’app Outlook.

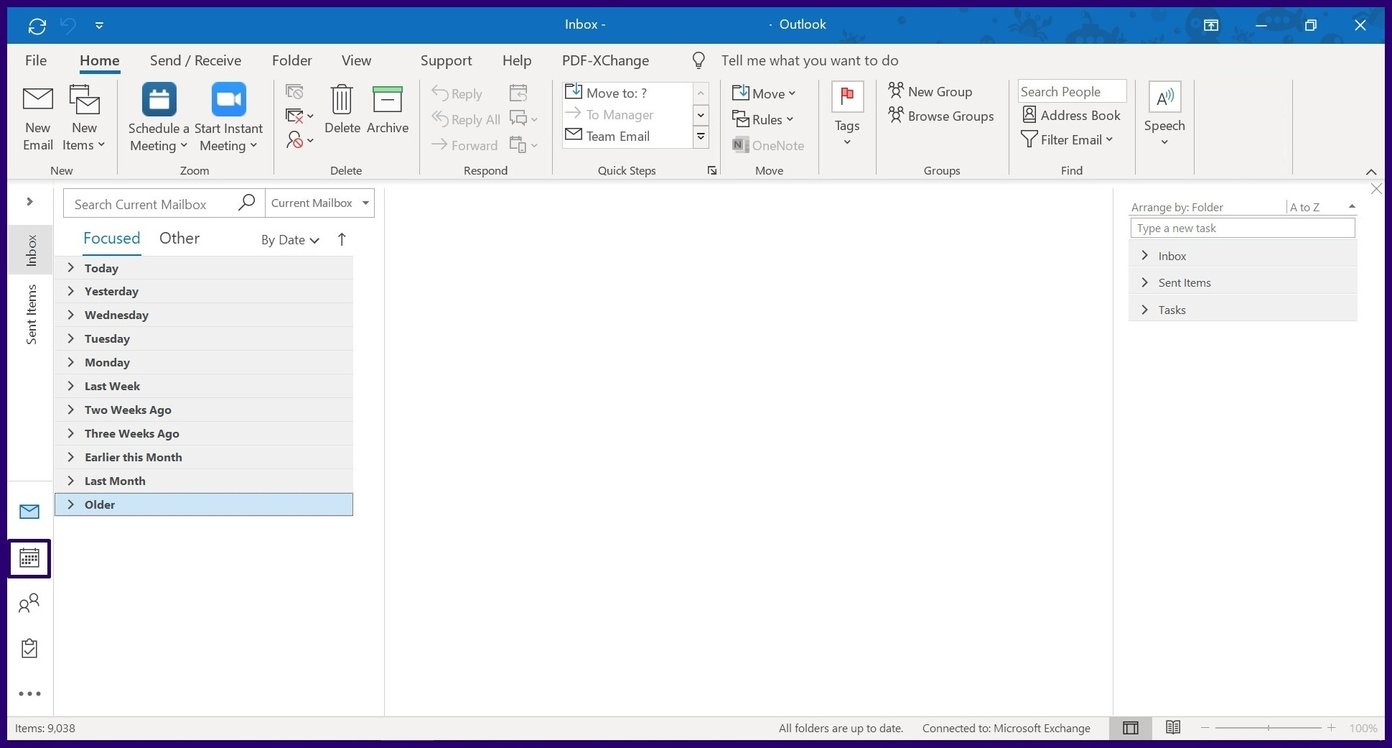
Passaggio 2: seleziona l’icona del calendario a sinistra dello schermo
Passaggio 3: Scorri il calendario fino alla data della riunione precedente.
Passaggio 4: Fare clic sulla riunione specifica, tenere premuto il tasto Ctrl e trascinare la riunione su la data o l’ora in cui si desidera che si tenga la nuova riunione.

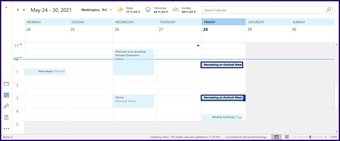
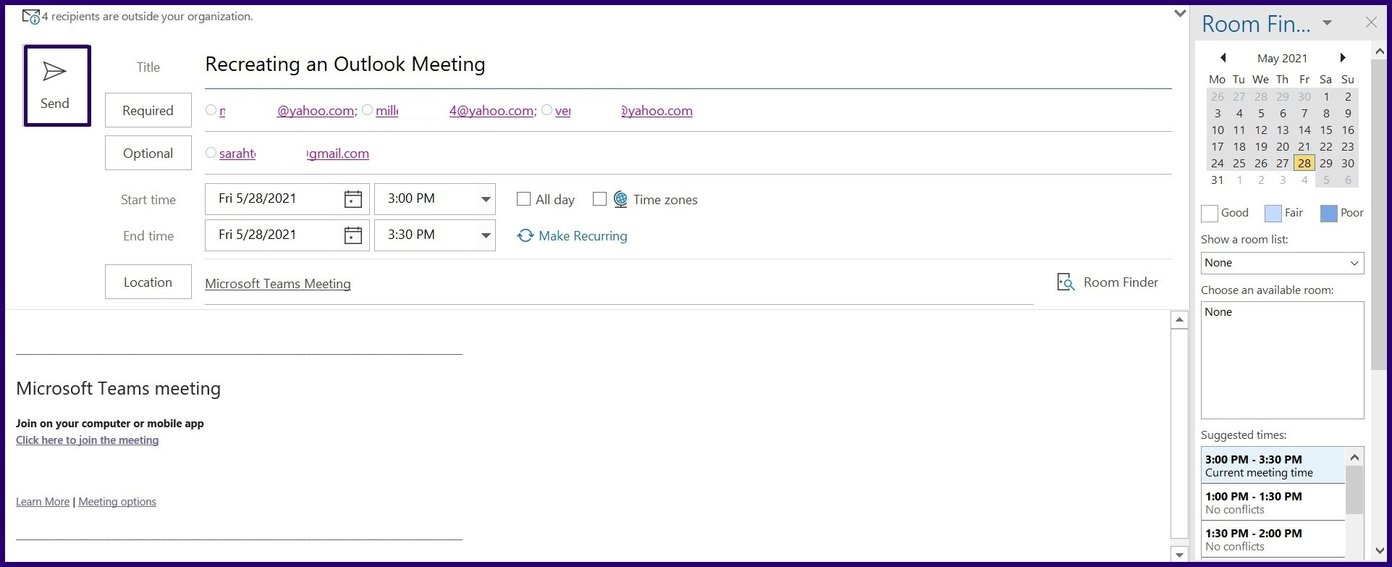
Passaggio 5: Fai doppio clic sulla nuova riunione creata e tutti i dettagli pertinenti verranno visualizzati come popolato. Fare clic su Invia per inviare l’invito.
3. Creazione di una riunione da un’e-mail
Quando si riceve un’e-mail su un evento e si desidera organizzare un incontro con il mittente dell’e-mail, seguire i passaggi seguenti.
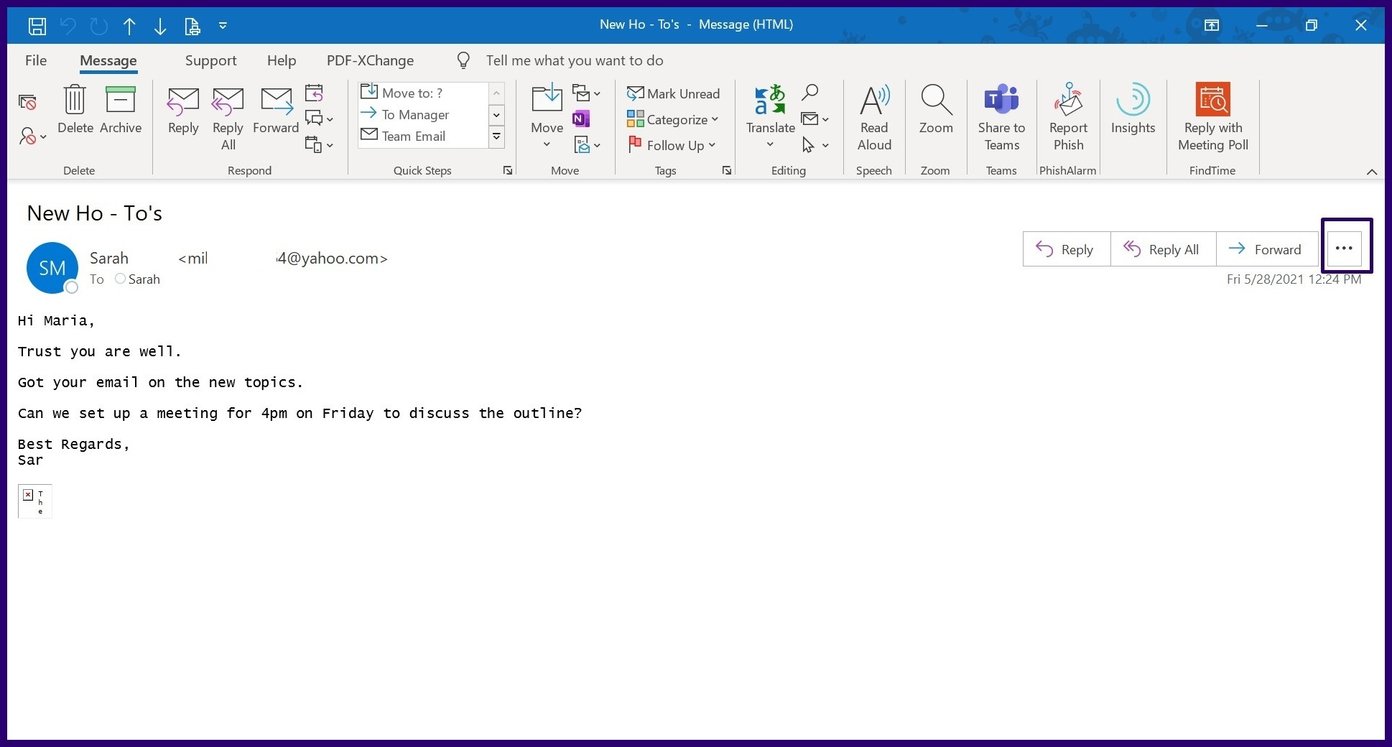
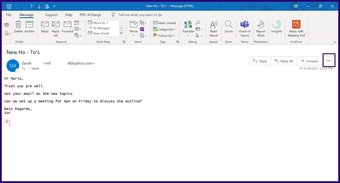
Fase 1: Fai doppio clic sull’e-mail che utilizzerai per impostare l’appuntamento in modo che si apra una nuova finestra.
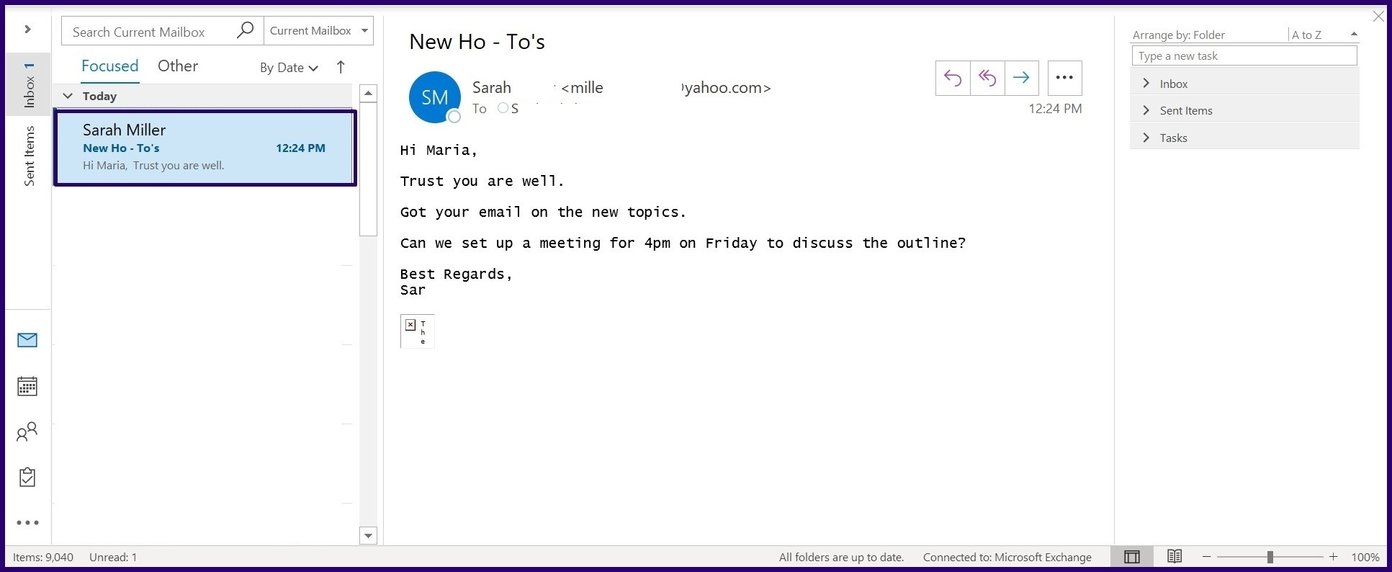
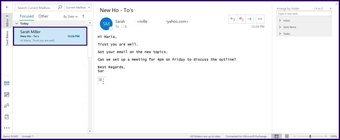
Passaggio 2: Fai clic sul pulsante con i puntini di sospensione (…) a destra dello schermo accanto al nome del mittente dell’e-mail.
Step 3: Select the Meeting option and this should open a new meeting window.

Step 4: The email sender’s name or address should already be auto-populated in the Required field. However, you will need to populate other details such as Meeting Location and Time.

Step 5: Click the Send button.

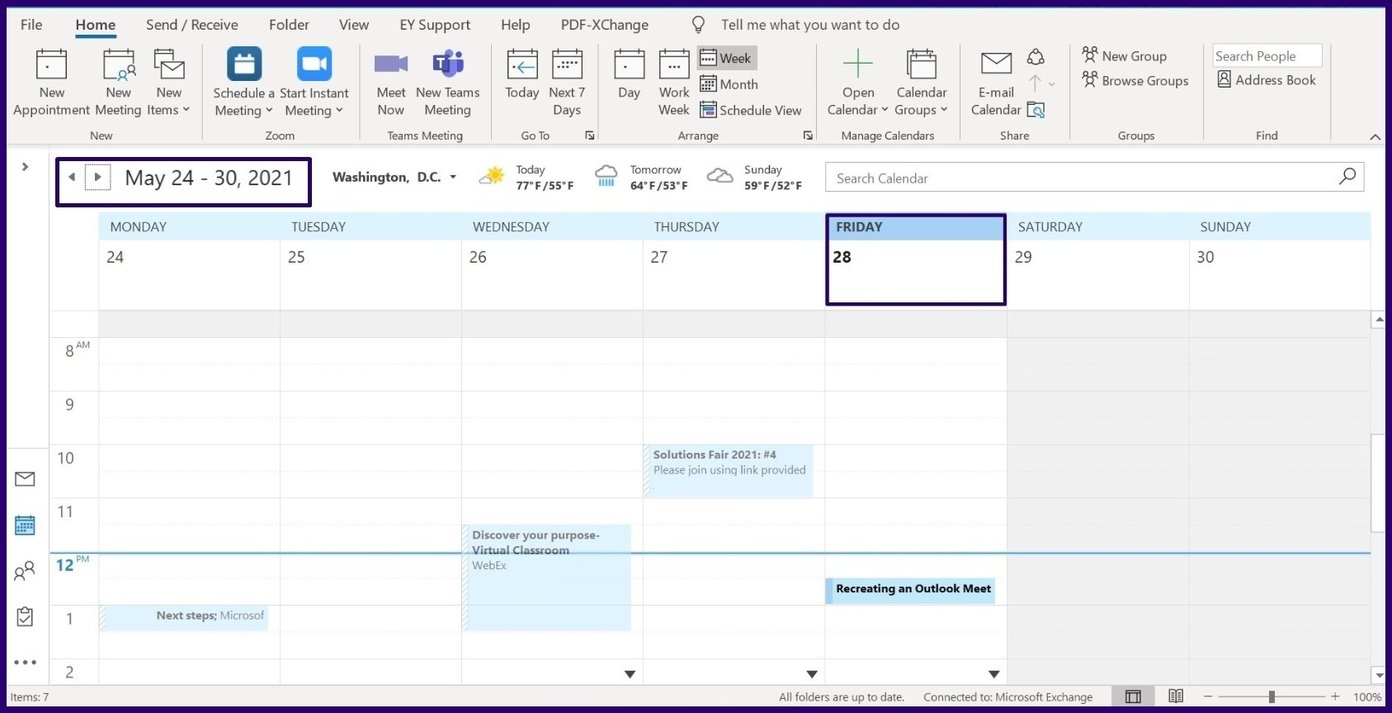
4. Date Navigator
If you want to get a view of your appointments or meetings for a week or month, the date navigator on the Calendar can provide that.
Step 1: Select the Calendar icon on the left of your Outlook screen.

Step 2: At the top of your screen, there should be options to view your Calendar for Today, Next 7 Days, Work Week or Month. Choose your preferred view.

5. Using Natural Language to Book Meeting Start Times
When booking a meeting or appointment, you may opt to use the Date Navigator to get a view of your calendar for the period. An alternative to using the Date Navigator option in Outlook is Natural Language. Here’s how to use it.
Step 1: On the Home tab in Outlook, select New Items.

Step 2: Select Meeting or Appointment depending on your preference.

Step 3: In the field for Start Time instead of choosing a date from the calendar, simply type a proposed time in words. per esempio. 7 weeks, Christmas, Thanksgiving etc. Outlook should bring out a date.

6. Viewing Multiple Calendars
If you would like to set up a meeting with individuals in Outlook, you can view their calendars to check for a suitable time to schedule a meeting or a chat. However, this depends on if you have been granted permission to do so on Exchange or the individual is part of your organization. Here’s how it works.
Step 1: Select the Calendar icon on the left of your Outlook screen.

Step 2: At the top of your screen, click the Open Calendar option.

Step 3: If you’ve been granted permission to view the Calendar via Exchange, select Open Shared Calendar. However, if the person is within your organization, select From Address Book. If you have a link to a calendar on the internet, you can also select From Internet.

Step 4: Input the name or link (depending on the chosen option) of the individual and select OK. You should get a view of the calendar of the individual.

Setting Out of Office Responses
The tips above should help you manage your Outlook Calendar better. However, they are not exhaustive as there are other tricks you can perform on Outlook such as setting Out of Office Responses and Serial Reminders.
The above article may contain affiliate links which help support Guiding Tech. However, it does not affect our editorial integrity. The content remains unbiased and authentic.

