Windows 10 บรรจุเครื่องมือแก้ไขปัญหาเพื่อช่วยให้คุณแก้ไขปัญหาส่วนใหญ่ในระดับระบบได้อย่างง่ายดาย ส่วนใหญ่ ตัวแก้ไขปัญหา Windows ช่วยประหยัดเวลาได้มากด้วยการแก้ไขข้อผิดพลาดทางเทคนิค แต่บางครั้งตัวแก้ไขปัญหาอาจล้มเหลว หากตัวแก้ไขปัญหาของ Windows ไม่ทำงานบนคอมพิวเตอร์ของคุณ คุณสามารถลองแก้ไขปัญหาต่อไปนี้ได้


ปัญหาเกี่ยวกับตัวแก้ไขปัญหาของ Windows อาจปรากฏขึ้นในรูปแบบต่างๆ
- ตัวแก้ไขปัญหาของ Windows ไม่ ทำงานได้ทั้งหมด
- ตัวแก้ไขปัญหาของ Windows ค้าง
- ข้อผิดพลาด 0x80300113 ปรากฏขึ้นขณะแก้ไขปัญหา
- ข้อความ’ปัญหาทำให้ตัวแก้ไขปัญหาไม่สามารถเริ่มทำงานได้ 0x80070002/0x8e5e0247’ปรากฏขึ้น
- ข้อผิดพลาด 0x803c010b ปรากฏขึ้นขณะแก้ไขปัญหา
โชคดีที่โซลูชันที่เราแชร์ในบทความนี้สามารถแก้ไขปัญหาเหล่านี้ได้
1. เริ่มและตั้งค่าบริการเข้ารหัสเป็นอัตโนมัติ
หากการเข้ารหัสหยุดทำงานหรือไม่ทำงานในพื้นหลัง เป็นไปได้ว่าเครื่องมือแก้ปัญหาของคุณจะไม่ทำงาน การเปลี่ยนแปลงอาจเกิดจากแอปพลิเคชันใช้งานไม่ได้ หรือ เป็นเพียงข้อผิดพลาดของ Windows ที่ไม่สามารถล้างได้ ไม่ว่าจะด้วยวิธีใด การเริ่มบริการเข้ารหัสโดยการเรียกใช้ตัวจัดการบริการเป็นวิธีที่ดีที่สุดในการแก้ไขปัญหา ทำตามขั้นตอนนี้เพื่อเริ่มบริการใหม่
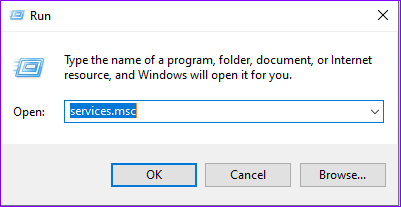
ขั้นตอนที่ 1: กดปุ่ม Windows + R พิมพ์ services.msc ในกล่องโต้ตอบ แล้วคลิก Enter.

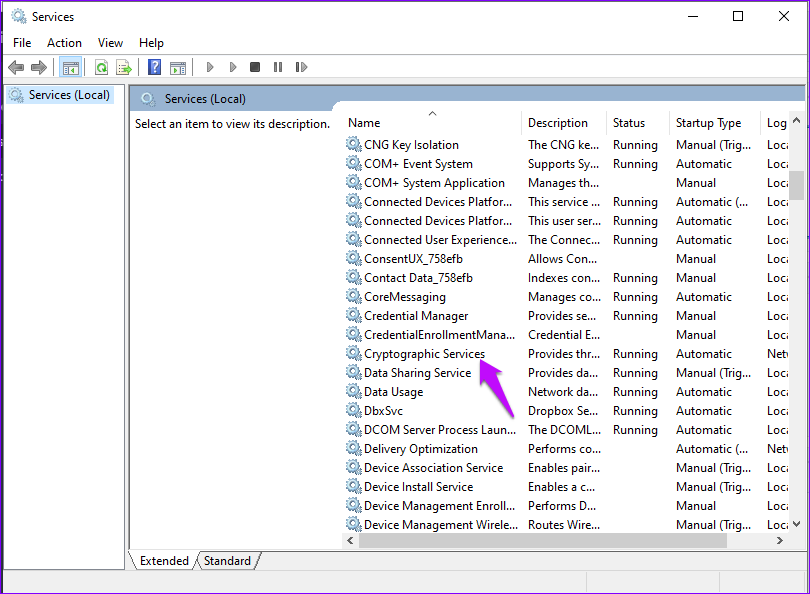
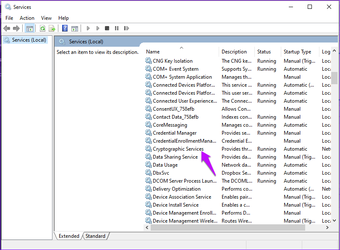
ขั้นตอนที่ 2: เลื่อนลงมาและค้นหาบริการการเข้ารหัสลับและดับเบิลคลิกที่บริการ p>
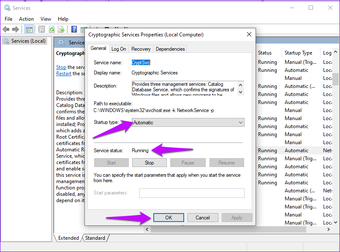
ขั้นตอนที่ 3: ไปที่ประเภทการเริ่มต้นและตั้งค่าเป็นอัตโนมัติ นอกจากนี้ ให้ยืนยันว่าสถานะการบริการกำลังทำงานอยู่ หากไม่เป็นเช่นนั้น ให้กดปุ่ม Start และระบบจะเริ่มดำเนินการ ทำตามขั้นตอนนี้ให้เสร็จสิ้นโดยกดตกลงและนำไปใช้เพื่อบันทึกการเปลี่ยนแปลงปัจจุบัน

2. บูตอุปกรณ์ของคุณในเซฟโหมด
บ่อยครั้ง การบูทอุปกรณ์ในเซฟโหมดสามารถแก้ไขปัญหาได้ เซฟโหมดช่วยให้คุณทำงานโดยใช้แอพพลิเคชั่นน้อยลง และช่วยเพิ่มประสิทธิภาพการทำงานของอุปกรณ์ของคุณ หากต้องการบูตอุปกรณ์ในเซฟโหมด ให้ทำตามขั้นตอนเหล่านี้
ขั้นตอนที่ 1: คลิกที่ไอคอน Windows แล้วเลือกการตั้งค่า

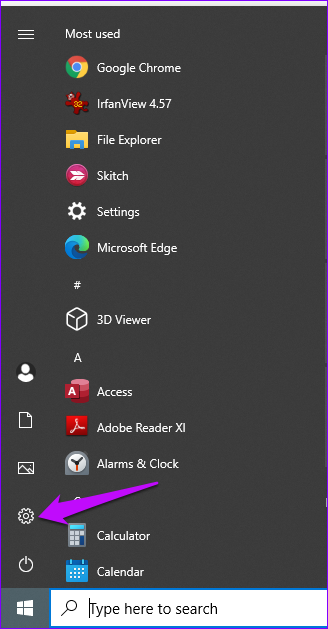
ขั้นตอนที่ 2: เลื่อนลงไปที่ตัวเลือกการอัปเดตและความปลอดภัยแล้วคลิกที่ตัวเลือก
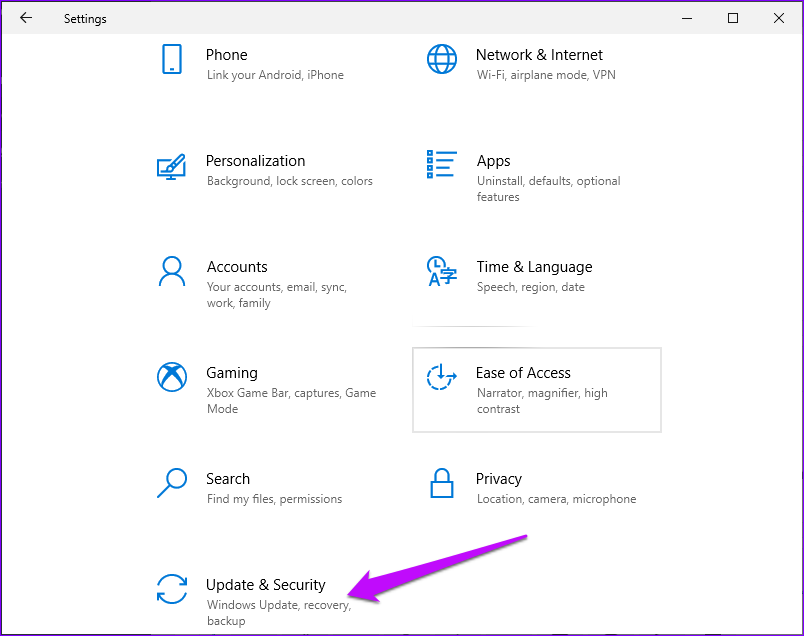

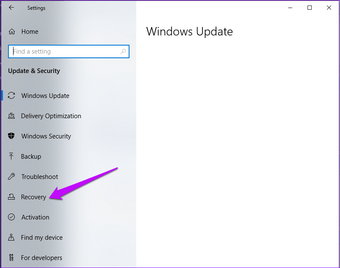
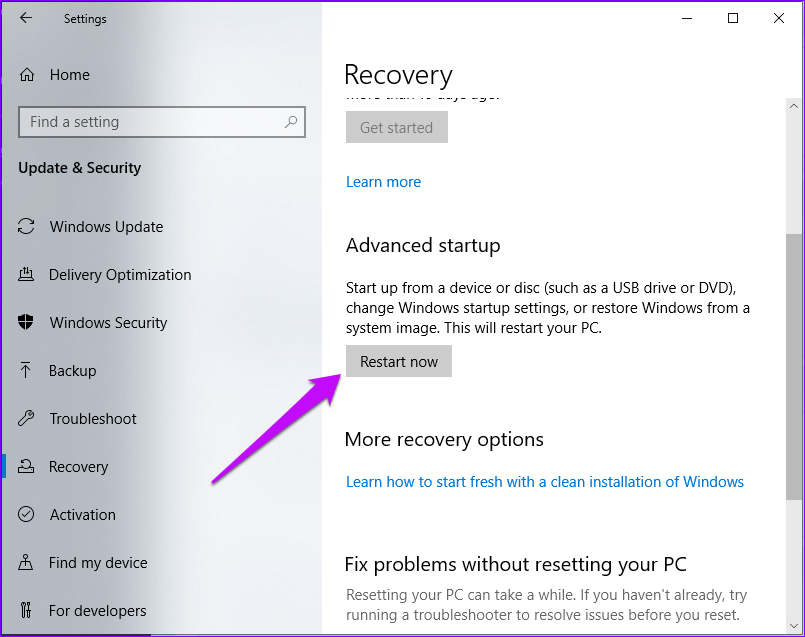
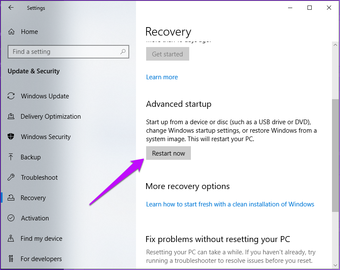
ขั้นตอนที่ 3: ย้ายไปที่ด้านซ้ายมือของหน้าจอแล้วกดตัวเลือกการกู้คืน
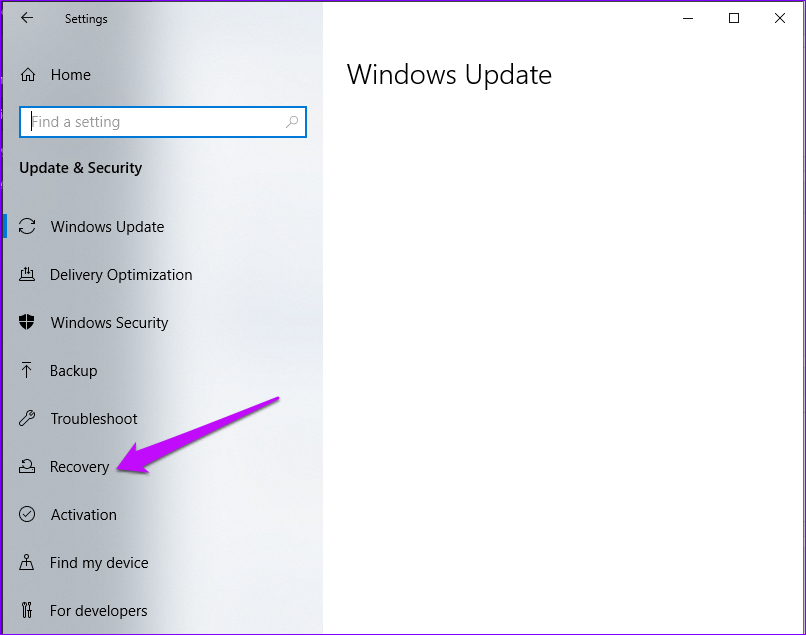
ขั้นตอนที่ 4: ค้นหาตัวเลือก Advanced startup แล้วกด Restart ทันที
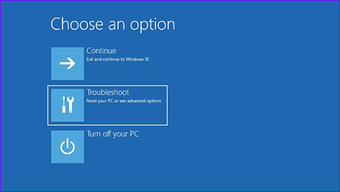
ขั้นตอนที่ 5: เลือกแท็บการแก้ไขปัญหาเพื่อเปิดตัวเลือกขั้นสูง

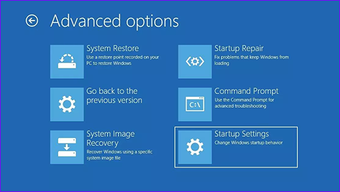
ขั้นตอนที่ 6: ใต้ตัวเลือกขั้นสูง ให้กดการตั้งค่าเริ่มต้น

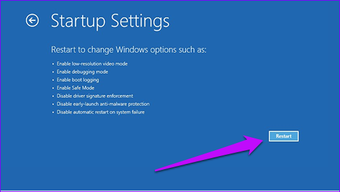
ขั้นตอนที่ 7: ในหน้าต่างถัดไป ให้กดปุ่มรีสตาร์ท

ขั้นตอนที่ 8: กด F5 เพื่อเปิดใช้งานเซฟโหมดกับเครือข่าย
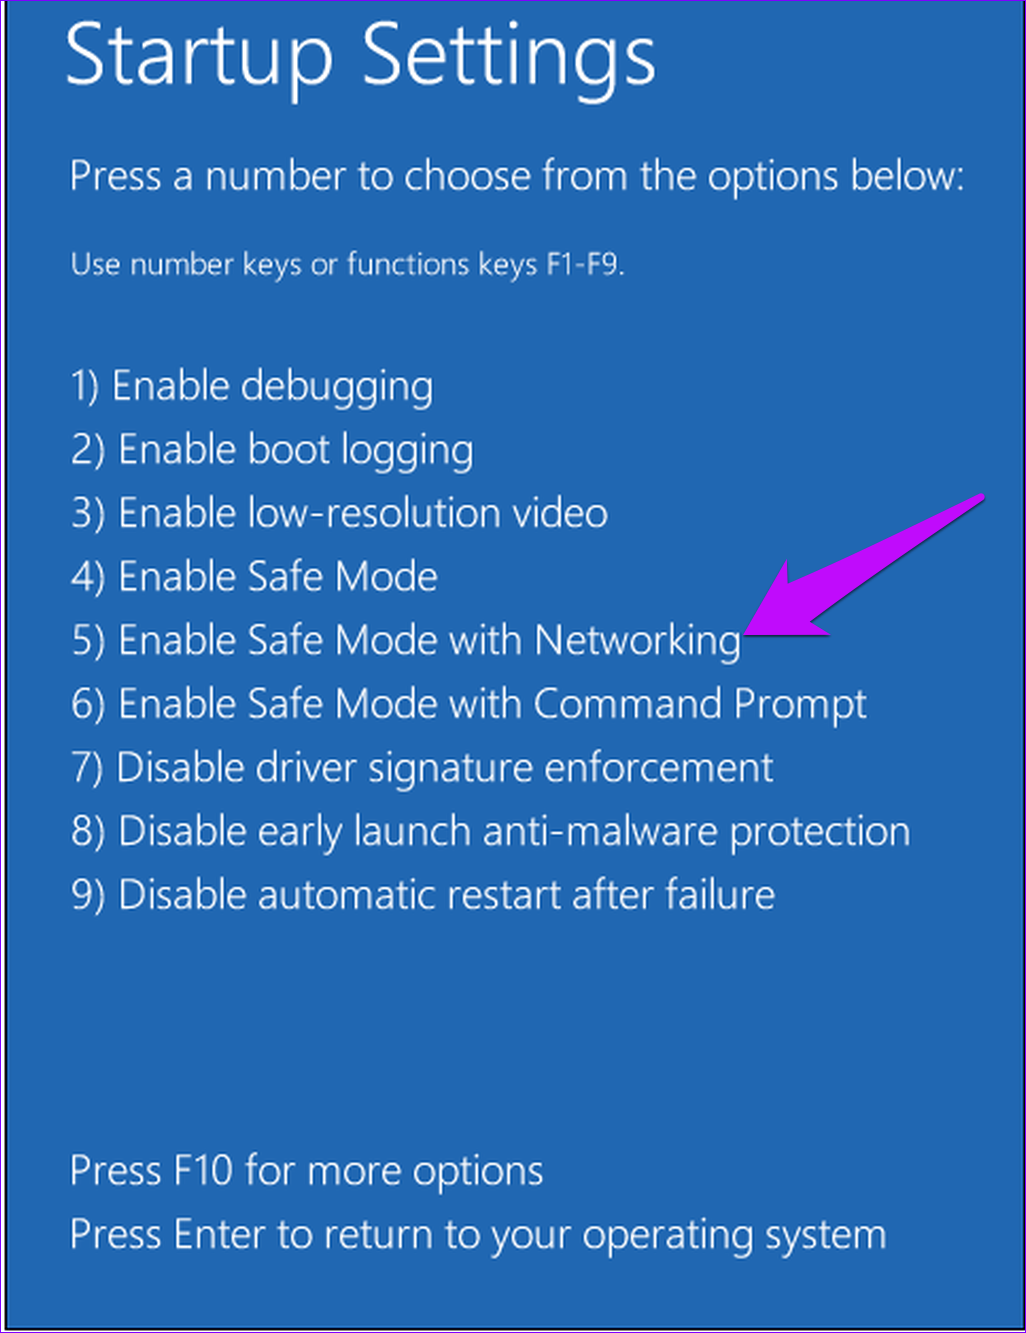
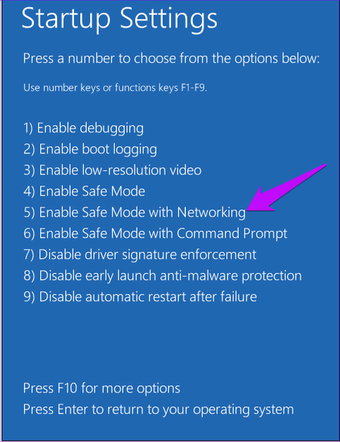
พยายามเรียกใช้ตัวแก้ไขปัญหาในเซฟโหมดและดูว่าปัญหาได้รับการแก้ไขหรือไม่
3. ยืนยันว่าตัวแปรสภาพแวดล้อมมีการตั้งค่าอย่างดี
หากมีปัญหากับ ตัวแปร TEMP และ TMP บนคอมพิวเตอร์ของคุณ โปรแกรมของคุณอาจไม่ทราบว่าจะติดตั้ง จัดเก็บ หรือค้นหาไฟล์ที่ใด ซึ่งอาจนำไปสู่การหยุดหรือแม้แต่การหยุดทำงานของตัวแก้ไขปัญหา ในการแก้ไขปัญหา ตรวจสอบให้แน่ใจว่าได้ตั้งค่าตัวแปรสภาพแวดล้อมไว้อย่างดี
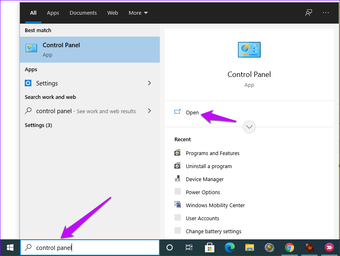
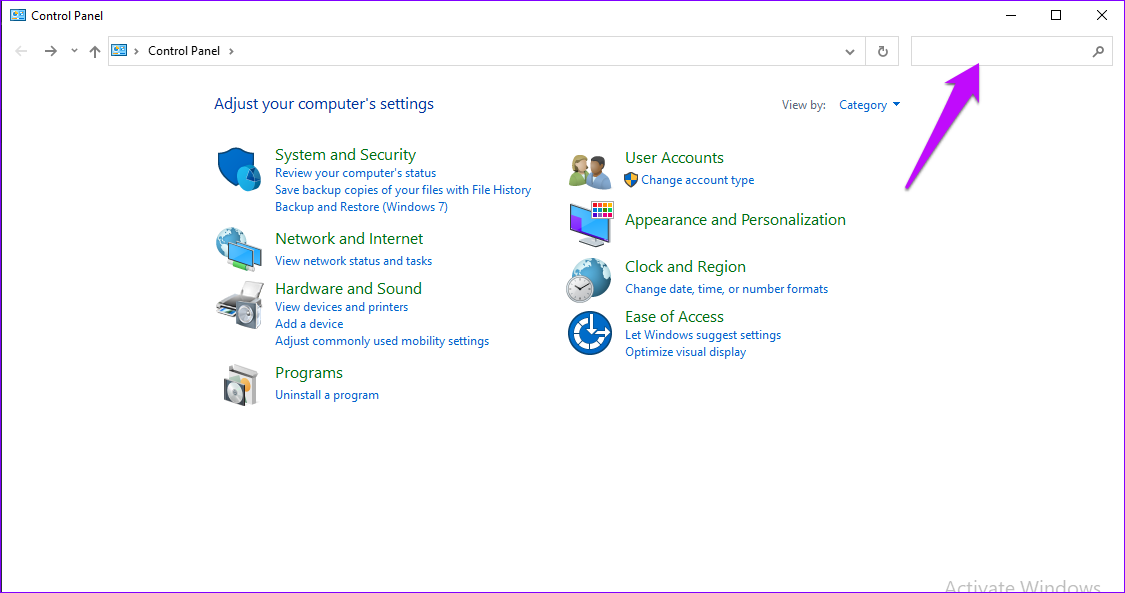
ขั้นตอนที่ 1: ไปที่แถบค้นหาของ Windows แล้วพิมพ์ แผงควบคุม

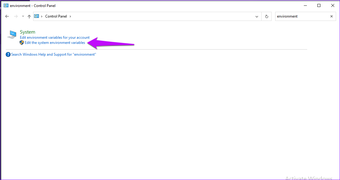
ขั้นตอนที่ 2: พิมพ์ สภาพแวดล้อม บนแถบค้นหาของแผงควบคุมเพื่อเปิด หน้าต่างตัวแปรสภาพแวดล้อม
ขั้นตอนที่ 3: คลิกที่’แก้ไขตัวแปรสภาพแวดล้อมของระบบ’เพื่อตรวจสอบว่าค่าของ TEMP และตั้งค่า TMP ไว้

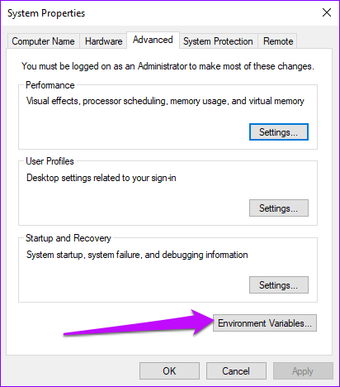
Step 4: Press Environment variables on the System properties windows.

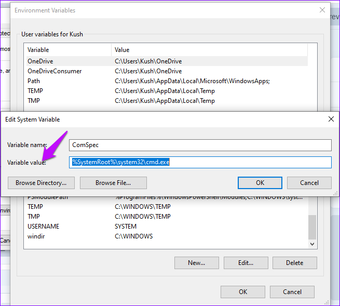
Step 5: If either of the variables isn’t set, click on it and press the Edit button.
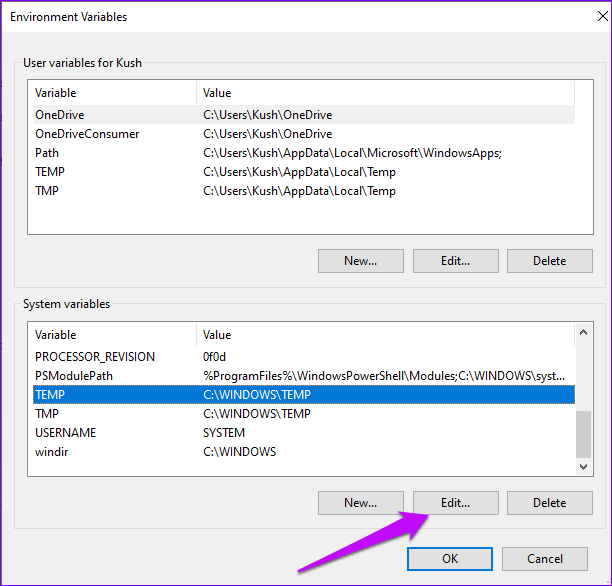

Step 6: Type C:\Temp in the Variable value box and press OK. Repeat the process for the other variables and this should resolve the troubleshooting problem.

4. Use the Command Prompt to Clear the DNS Cache
Flushing the DNS can help resolve accessibility issues with the troubleshooter. Here’s how you can run the command prompt.
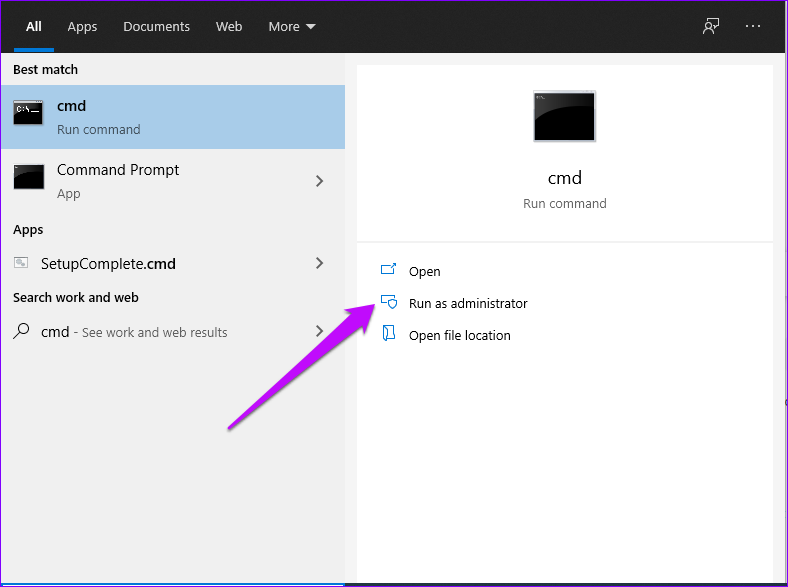
Step 1: Locate the Windows search bar, type cmd, and choose to run as administrator.

Step 2: Type ipconfig/flushdns to begin flushing the DNS.
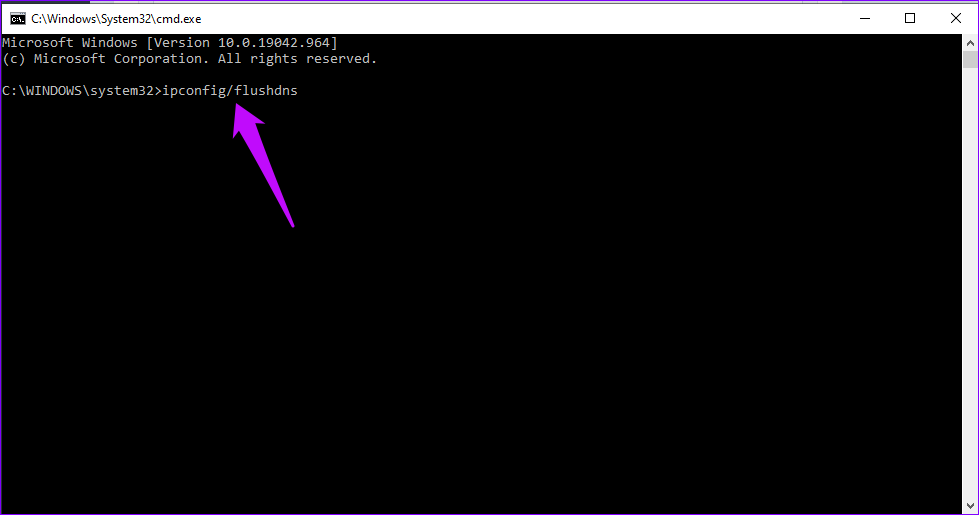

Once the process is complete, reboot your device and try running the troubleshooter.
5. Perform System Restore
To ensure problematic files affecting the troubleshooter are fixed, perform a system restore. A system restore will revert your device to a phase before the error and have fewer problems. Here’s how you can restore your system.
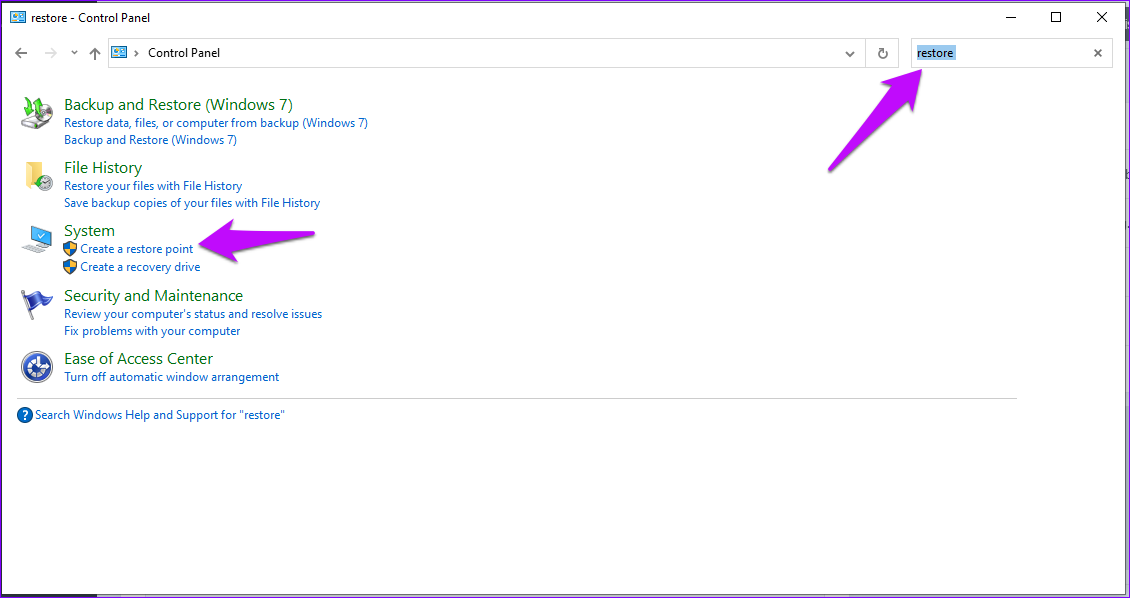
Step 1: Press Windows + S key, open Control panel, type restore in the search bar, and click on Create a restore point.

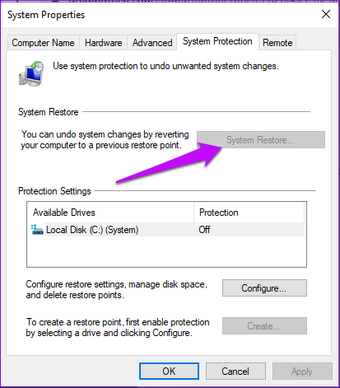
Step 2: On the System properties window click on System restore if it.

Step 3: On the next window, hit Next and if there’s a restore point available, click the’Show more restore points’option. You can then select your preferred restore points and follow the prompts on your screen to complete the process.
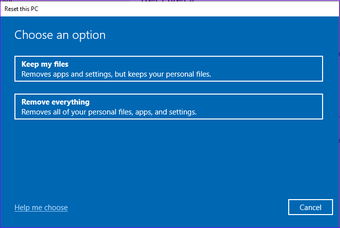
Alternatively, you can choose to reset your PC to factory settings. Here’s how you can do it.
Step 1: Move to Settings, select Update and Security, and click Recovery.


Step 2: Click on the Get started option on the right-hand pane, and the next window will grant you the option to reset your PC by removing everything or keeping some files. Choose what you’d like to do, and your system will be reset.

Fixing the Troubleshooter
The solutions mentioned above should help fix issues with the troubleshooter. You may have to try one or all of the choices for the application to work. Having your troubleshooter working again generally improves the performance of your other applications.
The above article may contain affiliate links which help support Guiding Tech. However, it does not affect our editorial integrity. The content remains unbiased and authentic.