ขณะทำเอกสาร วิธีหนึ่งที่ดีที่สุดในการทำให้ใช้งานได้สนุกคือการใส่สัญลักษณ์ ตัวอย่างเช่น สัญลักษณ์ Tick อาจหมายถึงรายการตรวจสอบของประเด็นสำคัญที่ครอบคลุม นอกจากนี้ คุณสามารถใช้เพื่อแสดงรายการที่เสร็จสมบูรณ์ในรายการสิ่งที่ต้องทำ หรือใช้เป็นสัญลักษณ์เพื่อระบุรายการหัวข้อย่อย


เมื่อทำงานกับไฟล์ในแอป Microsoft Office ตัวใดตัวหนึ่ง คุณสามารถแทรกสัญลักษณ์กาเครื่องหมายได้ทุกที่ตามที่เห็นสมควร คล้ายกับที่คุณเพิ่มอักขระพิเศษใน Windows 10
อย่างไรก็ตาม การเพิ่มเข้าไปนั้นไม่ง่ายเหมือนการกดทางลัด คุณอาจต้องผ่านห่วงบางอย่างเพื่อคิดออก
1. คัดลอกสัญลักษณ์ขีดโดยใช้ผังอักขระ
ใน Windows 10 คุณสามารถคัดลอกสัญลักษณ์ขีดจากการตั้งค่าผังอักขระและวางลงในเอกสาร Office วิธีการทำงาน:
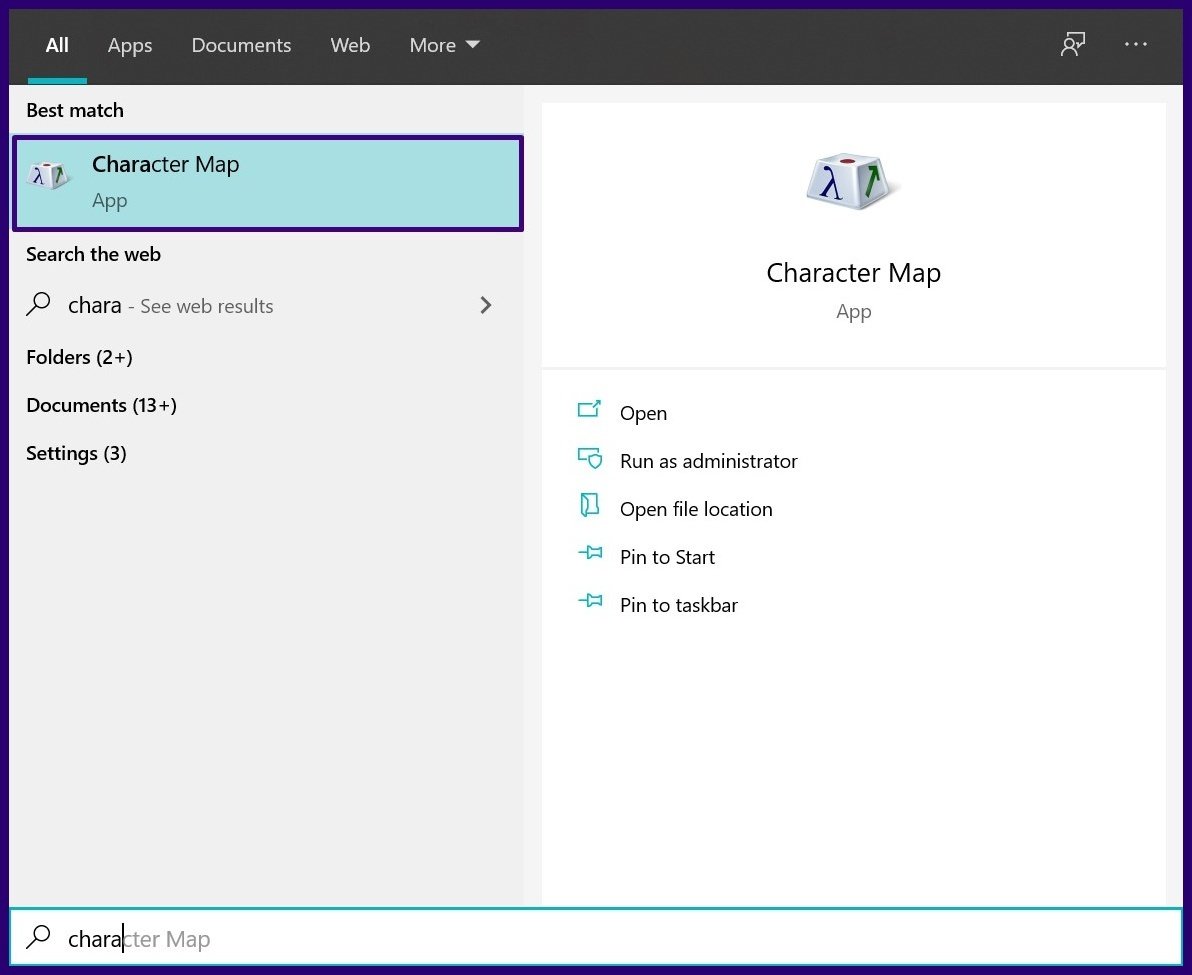
ขั้นตอนที่ 1: คลิกที่เริ่ม พิมพ์ ผังอักขระ ในแถบค้นหาของ Windows แล้วกด Enter

ขั้นตอนที่ 2: คลิกเมนูแบบเลื่อนลงข้างแบบอักษร
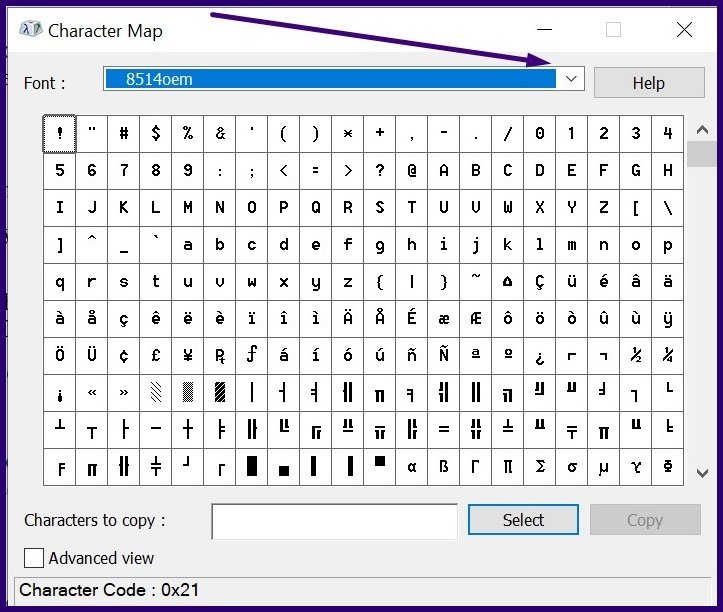

ขั้นตอนที่ 3: เลื่อนดูประเภทแบบอักษรจนกว่าคุณจะเห็น Wingdings คุณยังสามารถพิมพ์ Wingdings เพื่อให้ได้ผลลัพธ์ที่เร็วขึ้น
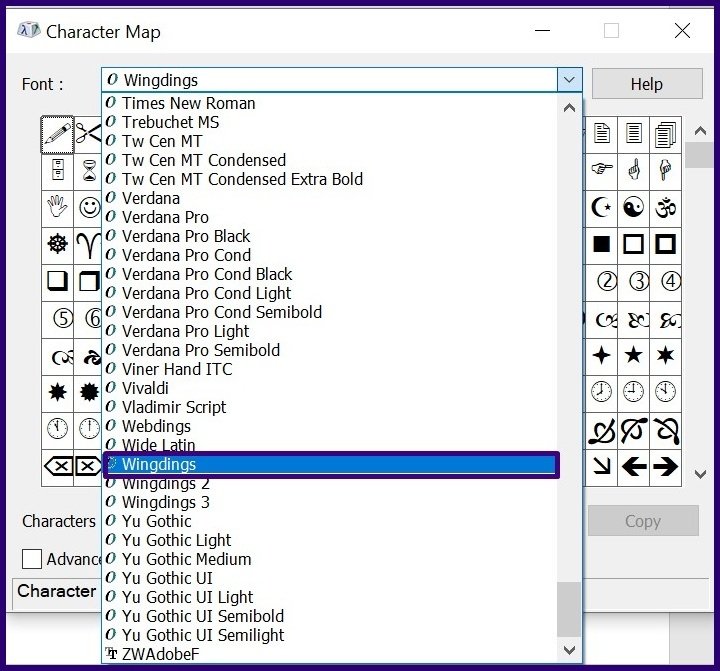

ขั้นตอนที่ 4: เลื่อนดูสัญลักษณ์ที่แสดงภายใต้ Wingdings จนกว่าคุณจะระบุเครื่องหมายถูก
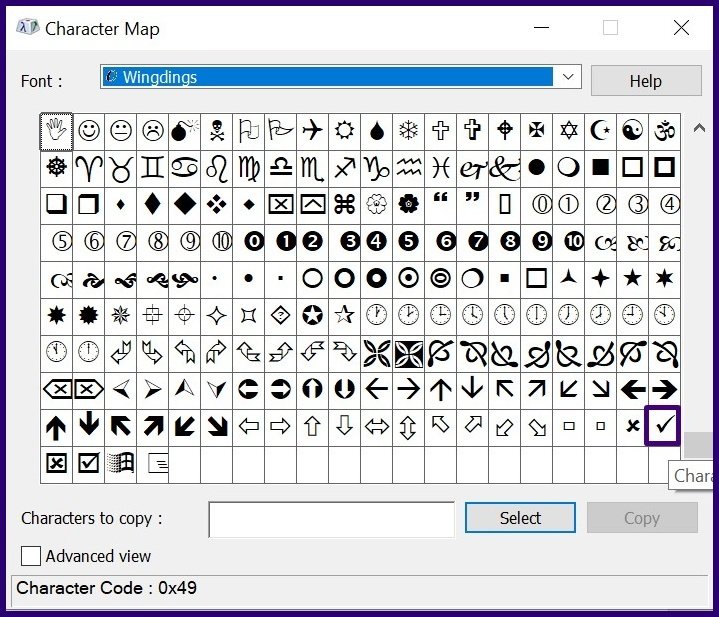

ขั้นตอนที่ 5: คลิกที่เครื่องหมายขีดแล้วคลิกเลือก


ขั้นตอนที่ 6: เมื่อเครื่องหมายถูกแสดงภายใต้อักขระที่จะคัดลอก ให้เลือกคัดลอก
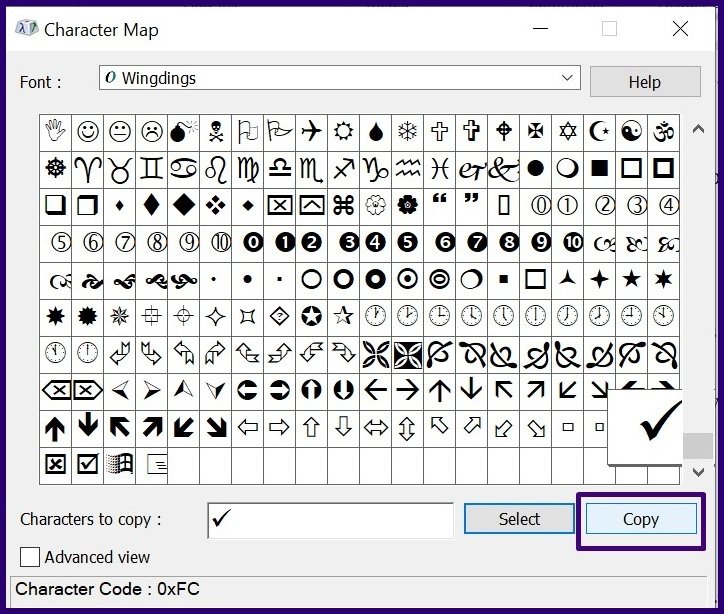

ขั้นตอนที่ 7: ในเอกสาร คุณกำลังดำเนินการ วางสัญลักษณ์กาเครื่องหมาย
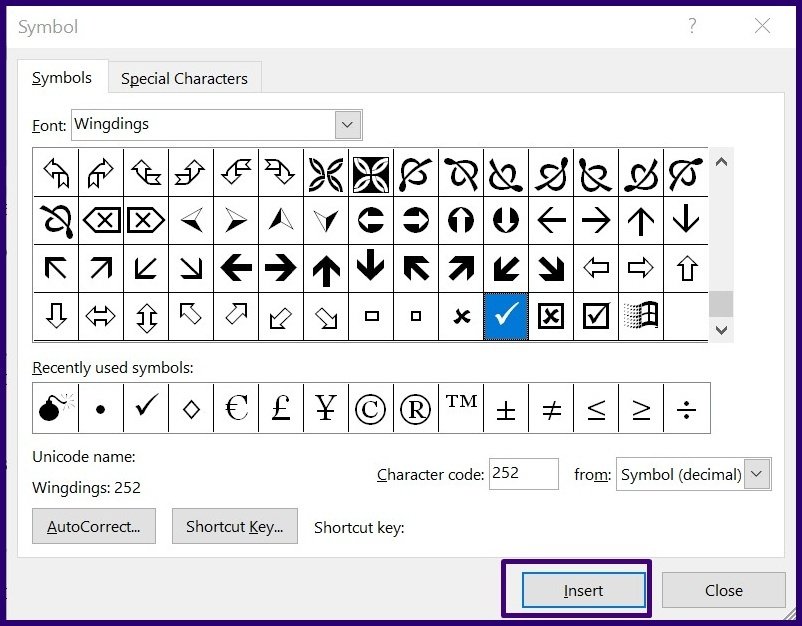
2. แทรกสัญลักษณ์ขีดโดยใช้คำสั่งสัญลักษณ์
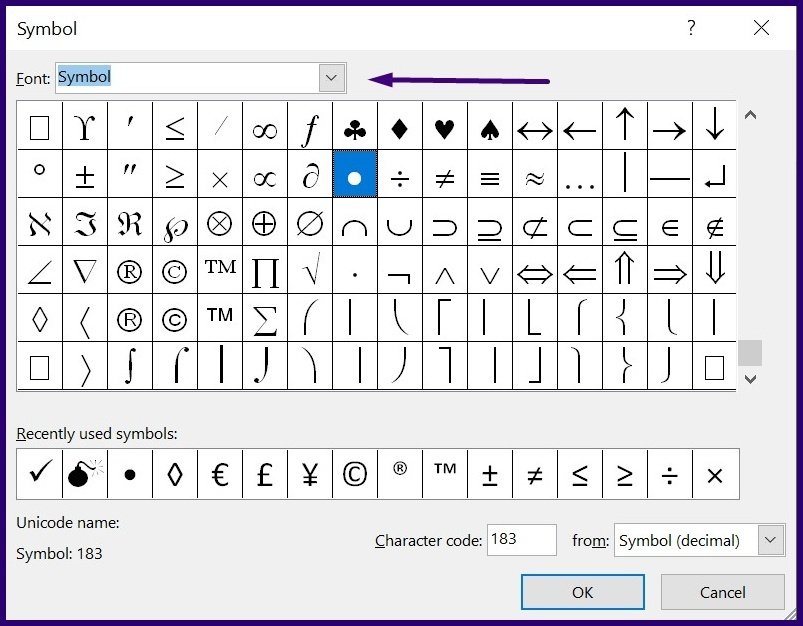
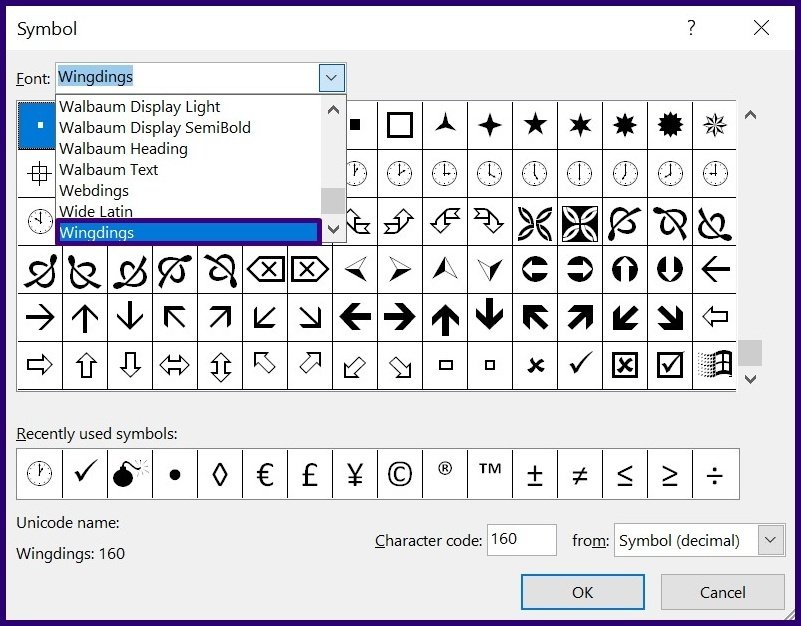
ด้วยคำสั่งสัญลักษณ์ใน Microsoft Office ผู้ใช้สามารถเพิ่มสัญลักษณ์ใดก็ได้ใน PowerPoint, Word หรือ Excel สิ่งที่คุณควรทำมีดังนี้
ขั้นตอนที่ 1: เปิดใช้แอป Microsoft Office
ขั้นตอนที่ 2: วางเคอร์เซอร์ไว้ในส่วนของเอกสารที่คุณต้องการติ๊ก สัญลักษณ์
ขั้นตอนที่ 3: คลิกที่แท็บแทรก
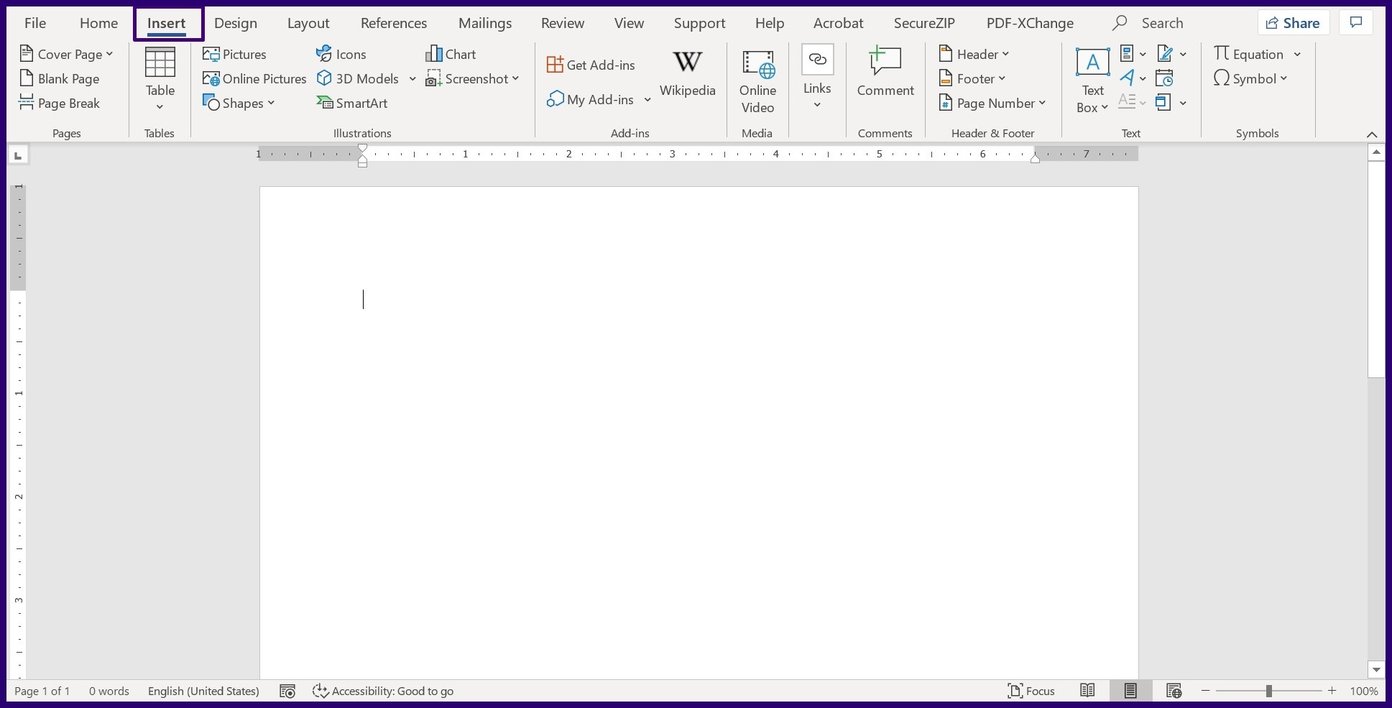

ขั้นตอนที่ 4: เลือกเมนูแบบเลื่อนลงข้างสัญลักษณ์


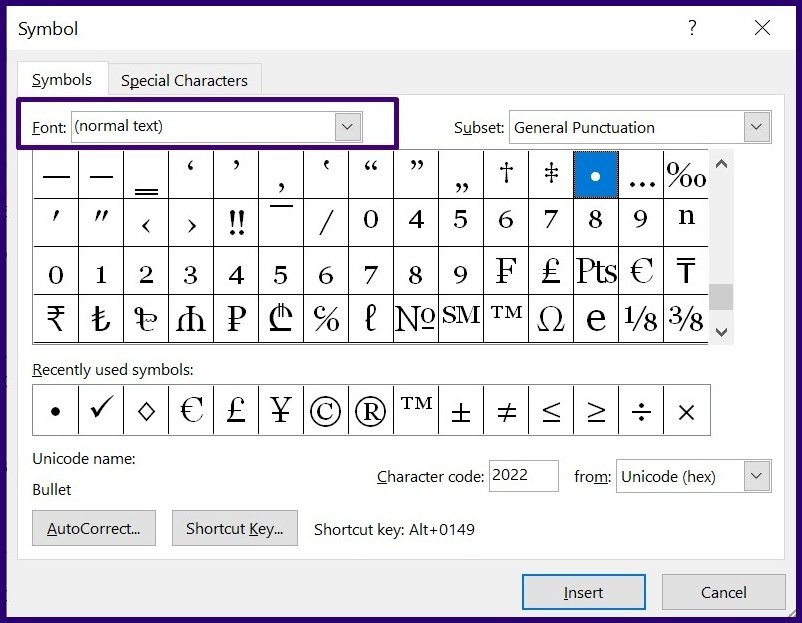
ขั้นตอนที่ 5: ตรวจสอบเครื่องหมายถูกในรายการแบบเลื่อนลง หากไม่มี ให้คลิกสัญลักษณ์เพิ่มเติม


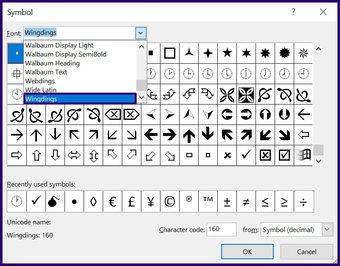
ขั้นตอนที่ 6: กล่องโต้ตอบควรเปิดขึ้น เลือกเมนูแบบเลื่อนลงข้างแท็บแบบอักษร

ขั้นตอนที่ 7: เลื่อนลงมาจนกว่าคุณจะพบ Wingdings


ขั้นตอนที่ 8: ในคอลัมน์สำหรับรหัสอักขระ ให้พิมพ์ 252 หรือ 254 (ขึ้นอยู่กับความต้องการของคุณ ติ๊กสัญลักษณ์) และสิ่งนี้ควรนำสัญลักษณ์ติ๊กขึ้นมา
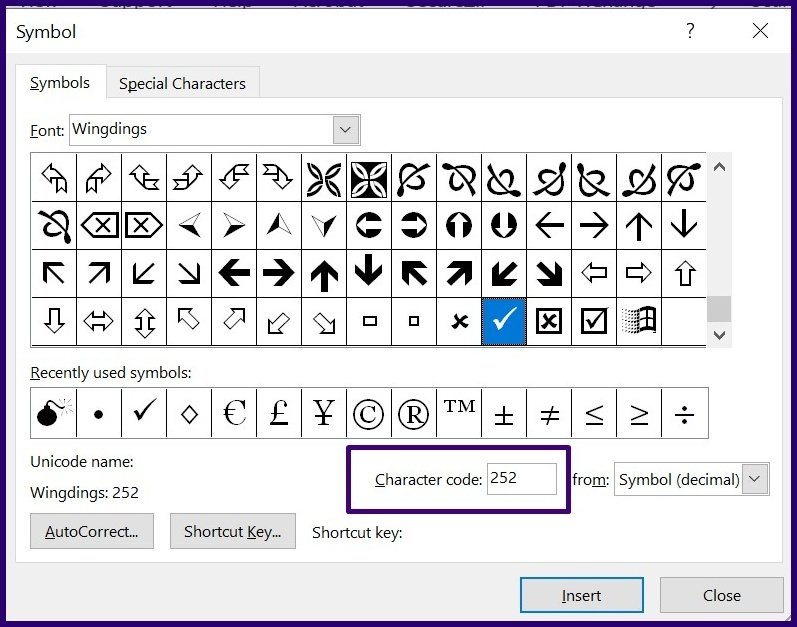

ขั้นตอนที่ 9: เลือก แทรก เพื่อให้เครื่องหมายถูกแสดงบนเอกสารของคุณ
3. Insert the Tick Symbol Using the ALT Shortcut
The ALT shortcut offers a quick way to insert the tick symbol into Microsoft Office documents. However, this requires memorizing the character code as each symbol on Office is mapped to a unique code. Your keyboard also needs a numerical keypad.
Here’s how it works:
Step 1: Place your cursor on the part of the text where you need to insert the tick symbol.
Step 2: On the Home page of your Office document, change the font in the font tab to Wingdings.
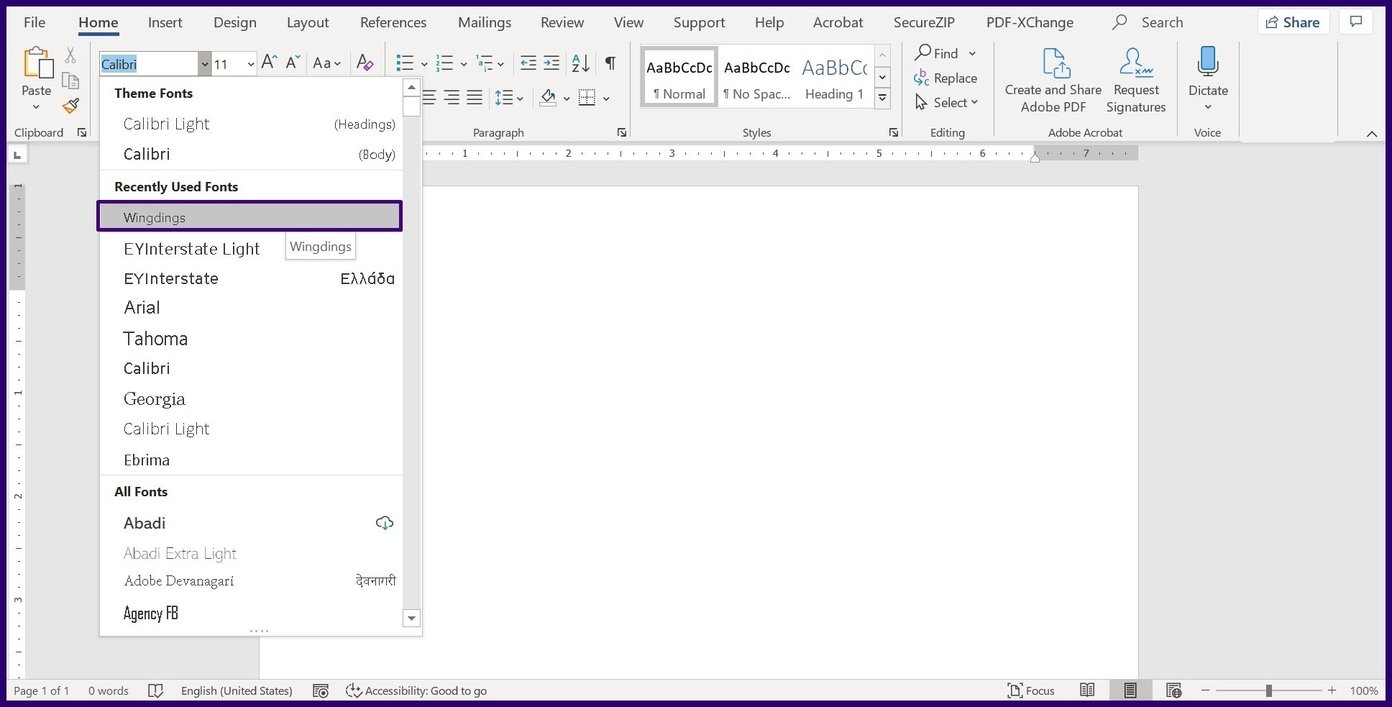
Step 3: Hold down the Alt key on your keyboard using the numerical keypad on your keyboard, enter any of the following codes:
- ALT + 0254
- ALT + 0252
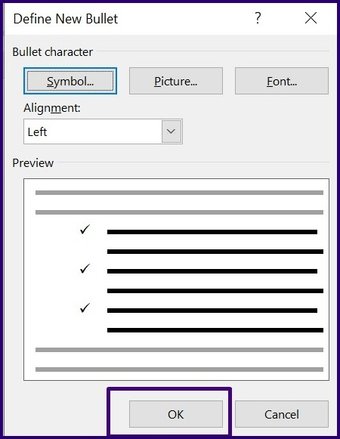
4. Insert Tick Symbol Using the Bullet Library
The bullet library on Office documents contains some symbols including the tick symbol. When you insert symbols from the bullet library in Word, it treats them like a bullet. You cannot apply this method in Excel, as bullet points are not available.
Here’s how to make use of this method:
Step 1: On Word or PowerPoint, place your cursor on the part of your text where you need the tick symbol.
Step 2: Click on the Bullets drop-down located in the Paragraph group.
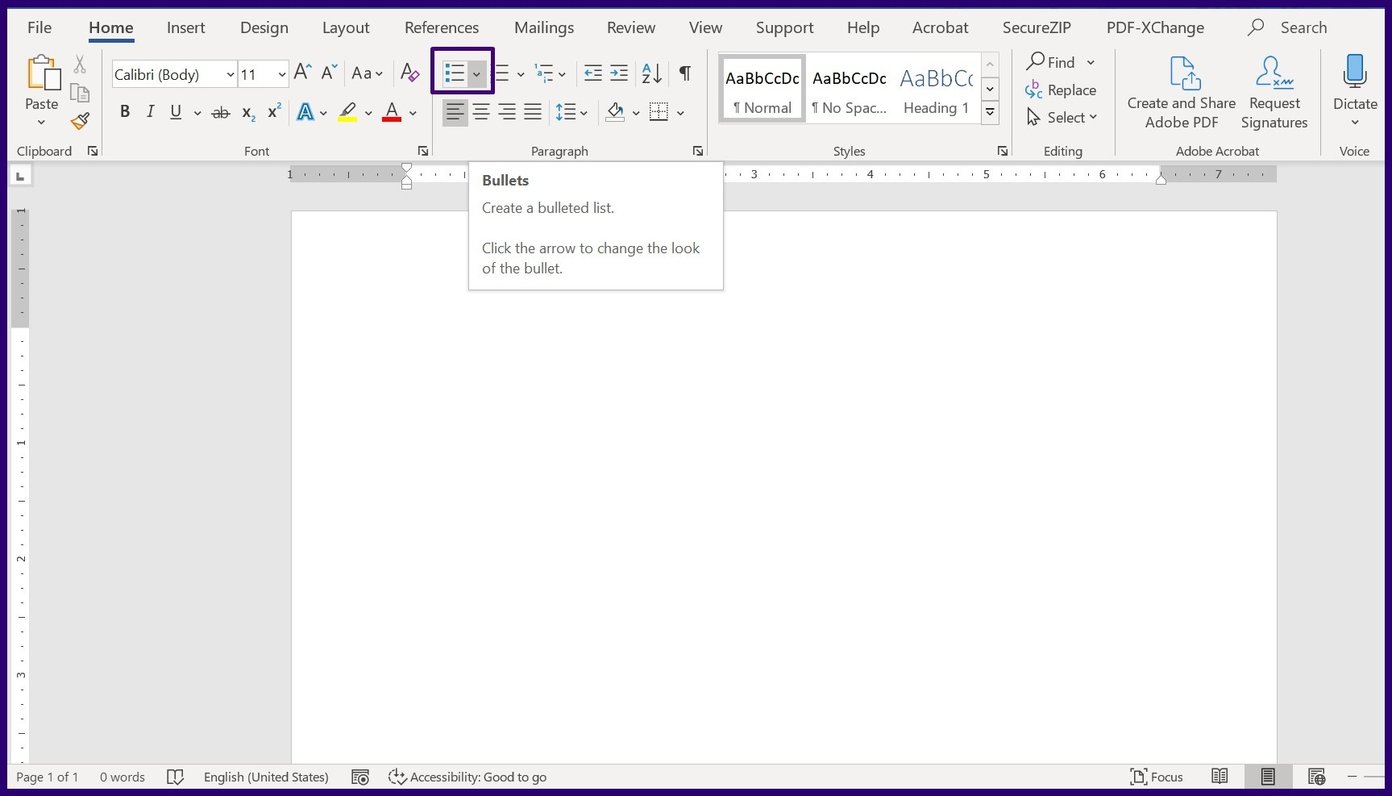
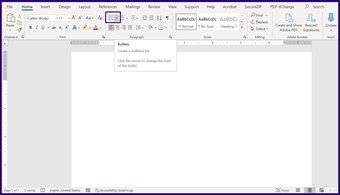
Step 3: Under Bullet Library, a tick symbol should show. If it is absent, select Define New Bullet.
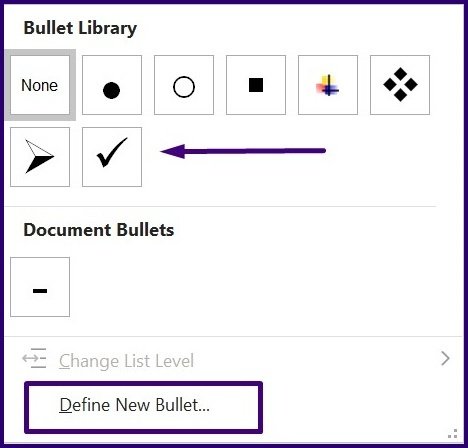
Step 4: On the new dialog box, select the Symbol button. Doing this launches the Symbol Dialog box.


Step 5: Select the drop-down menu beside Font.
Step 6: Scroll through the list of fonts until you identify Wingdings.
Step 7: Select the tick symbol.
Step 8: Click on OK on the Symbol window to save the selection.


Step 9: Click on OK on the Define New Bullet window to insert the tick symbol in your document.

When you follow the steps above, this saves the tick symbol to your bullet library.
Fix Special Characters Not Working
The methods enlisted above are quite straightforward and should work on most Windows 10 PCs. However, if the methods fail to work, the special characters on your PC might issue. Check out how to fix special characters not working on the keyboard.
บทความด้านบนอาจมีลิงค์พันธมิตรที่ช่วยสนับสนุน Guiding Tech อย่างไรก็ตาม ไม่กระทบต่อความถูกต้องด้านบรรณาธิการของเรา เนื้อหายังคงเป็นกลางและเป็นของแท้