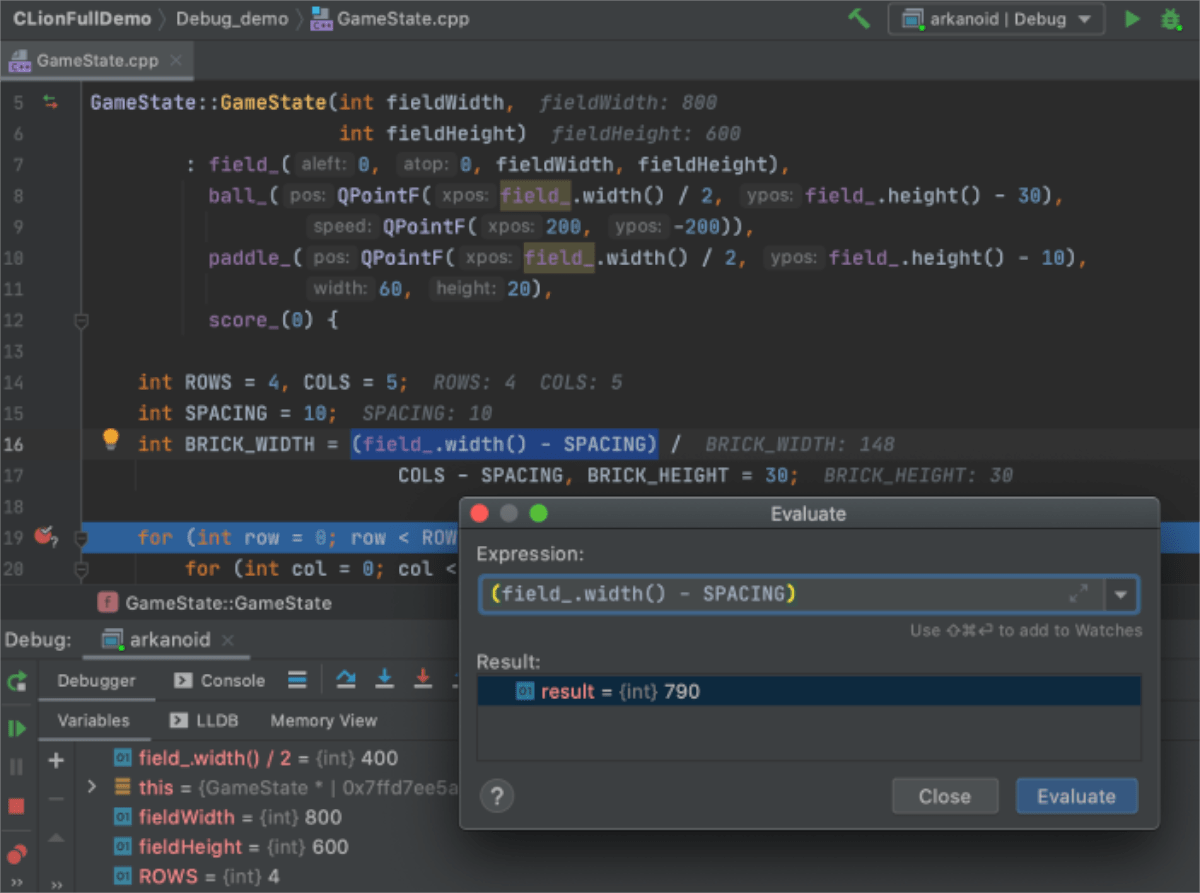
JetBrains Clion is a cross-platform IDE (integrated development environment) for both the C and C++ programming languages. It offers many valuable features, such as code generation, code analysis, etc.
In this guide, we’ll go over the various ways you can install the JetBrains CLion IDE on Linux. For more information on the app, click here.
Snap package installation
JetBrains CLion is available as a Snap package for those that like to use the Ubuntu Snap Store. To use CLion as a Snap, you must have the Snapd runtime configured and installed on your Linux system.
If you’re on Ubuntu, the Snapd runtime is already ready to go. However, if you use Fedora, OpenSUSE, Arch Linux, or anything else, you’ll need to get the runtime installed beforehand.
Setting up the Snapd runtime on Linux so you can install Snap packages is relatively easy. To start, install the “snapd” package with your Linux OS’s package manager. After that, use Systemd to enable the “snapd.socket” file.
Can’t figure out how to set up the Snapd runtime on your Linux PC? That’s OK! We can help! Follow along with our in-depth guide on how to set up Snap packages to get it working.
After setting up Snaps, you’ll be able to quickly install the JetBrains CLion app on your Linux PC with the following snap install command below.
sudo snap install clion --classic
Please keep in mind that CLion installs as a Snap in “Classic mode.” The classic mode requires AppArmor, and not every Linux operating system supports it. If Snap tells you that you cannot install it correctly, try the Flatpak installation instructions instead.
Flatpak installation
JetBrains CLion is available as a Flatpak on the Flathub app store. If you wish to install this program as a Flatpak on your Linux OS, you’ll first need to set up the Flatpak runtime.
Setting up the Flatpak runtime on Linux is very straightforward. To do it, you need only install the “flatpak” package onto your system using your package manager. If you need help setting up Flatpak on your Linux PC, please follow our guide on the subject.
With the Flatpak runtime up and running, the next step is to enable the Flathub app store. Flathub carries the JetBrains CLion package, so this step is critical. To enable Flathub, use the following flatpak remote-add command below.
flatpak remote-add --if-not-exists flathub https://flathub.org/repo/flathub.flatpakrepo
With the Flathub app store set up, you’ll be able to install CLion on your Linux PC. Using the flatpak install command below, get the app working on your computer.
sudo flatpak install flathub com.jetbrains.CLion
Arch Linux installation
Like all JetBrains apps, there is an AUR package for CLion available for installation. Keep in mind that these packages, although nice, do not receive official support from JetBrains. That said, the CLion AUR package does download directly from their website, so it is not using any modified code.
To start the installation of CLion on Arch Linux, you’ll need to install the “Git” and “Base-devel” packages. These packages are required to interact with the AUR.
sudo pacman -S git base-devel
Following the installation of the two packages, you must install the Trizen AUR helper. This program will automate the installation of CLion, so you do not have to do everything by hand.
To install Trizen, enter the commands below in succession.
git clone https://aur.archlinux.org/trizen.git
cd trizen
makepkg -sri
Finally, install JetBrains CLion on your Arch Linux PC by making use of the trizen -S command.
trizen -S clion
Generic Linux installation
JetBrains CLion comes with a universal installer for those on Linux who do not want to use Snaps or Flatpak and don’t use Arch Linux. To start the installation, head over to the CLion download page and click on the blue “Download” button.
After downloading, use the CD command to move the terminal window into the “Downloads” directory. Then, from there, use the tar command to decompress the JetBrains CLion TarGZ file downloaded previously.
cd ~/Downloads
Inside the “Downloads” directory, use the tar xvf command to decompress the CLion TarGZ file. The decompression process should only take a couple of seconds, as the file isn’t that large.
When the process is complete, use the CD command to move into the new CLion folder that the tar command created after the decompression process.
cd clion-*/
After entering the new CLion folder, access the “bin” sub-directory. This directory has the “clion.sh” script, which needs to be run to access the CLion app on Linux.
cd bin/
Start up CLion on your Linux PC by running the sh clion.sh command below.
sh clion.sh


