Program Microsoft PowerPoint może być bardziej interesujący i intuicyjny, używając ikon zamiast samego tekstu. Na przykład większość ludzi wie, że wykrzyknik w trójkącie oznacza ostrzeżenie. Wiemy również, że ikona kosza oznacza usunięcie.


Ikony są nie tylko wygodne, ale w większości przypadków sprawiają, że prezentacja jest atrakcyjna wizualnie. W programie Microsoft PowerPoint użytkownicy mogą dodawać ikony za pomocą poniższych metod.
1. Używanie domyślnych ikon w programie Microsoft PowerPoint
Stosując tę metodę, użytkownicy muszą mieć Subskrypcja Microsoft 365 . Jeśli taki masz, postępuj zgodnie z tym procesem:
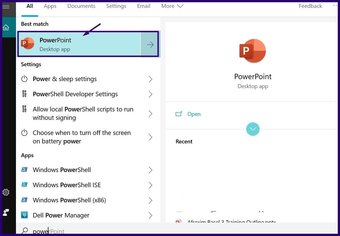
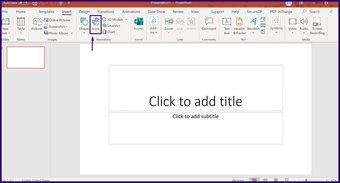
Krok 1: Uruchom aplikację Microsoft PowerPoint.

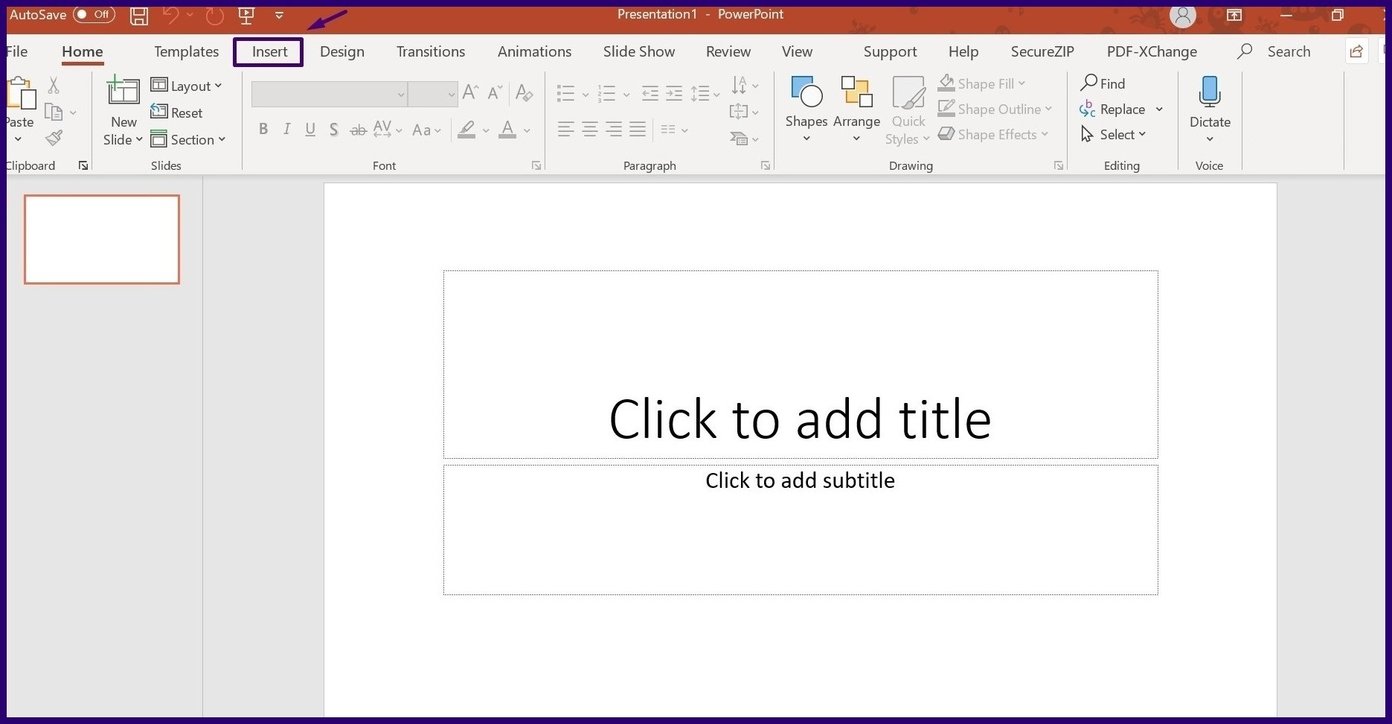
Krok 2: Na wstążce wybierz kartę Wstaw.
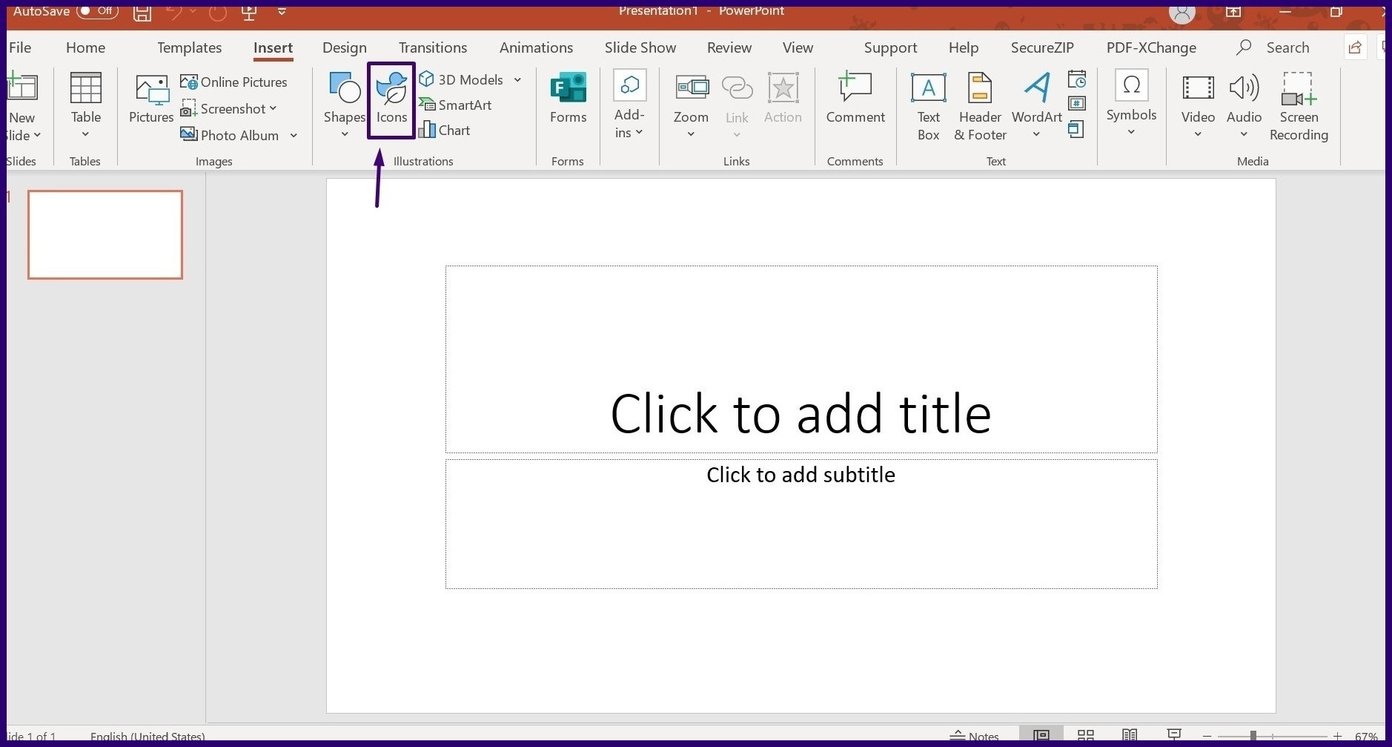
Krok 3: Wybierz kartę Ikony, aby wyświetlić menu zawierające wszystkie ikony.
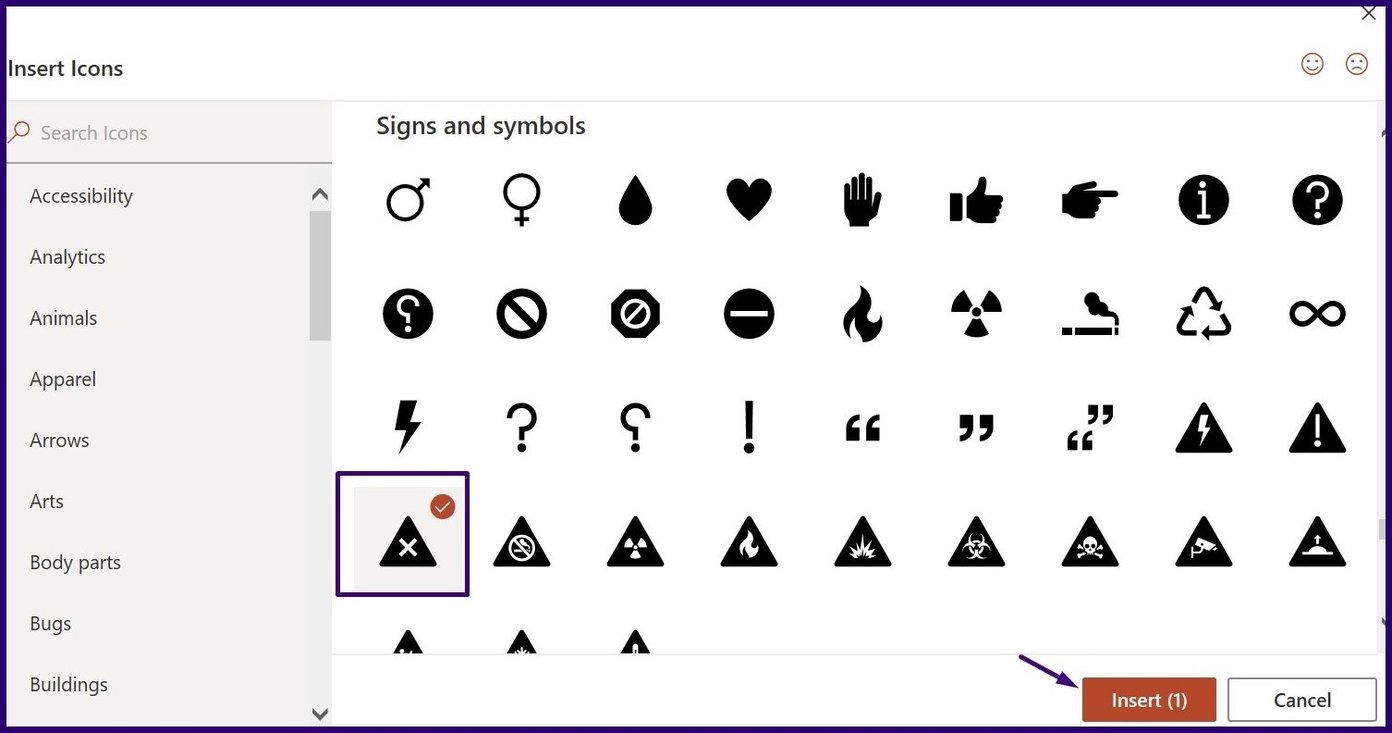
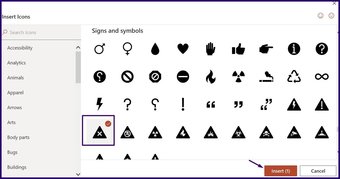
Krok 4: Przejrzyj dostępne ikony i kliknij Wstaw, aby wybrać preferowaną ikonę.
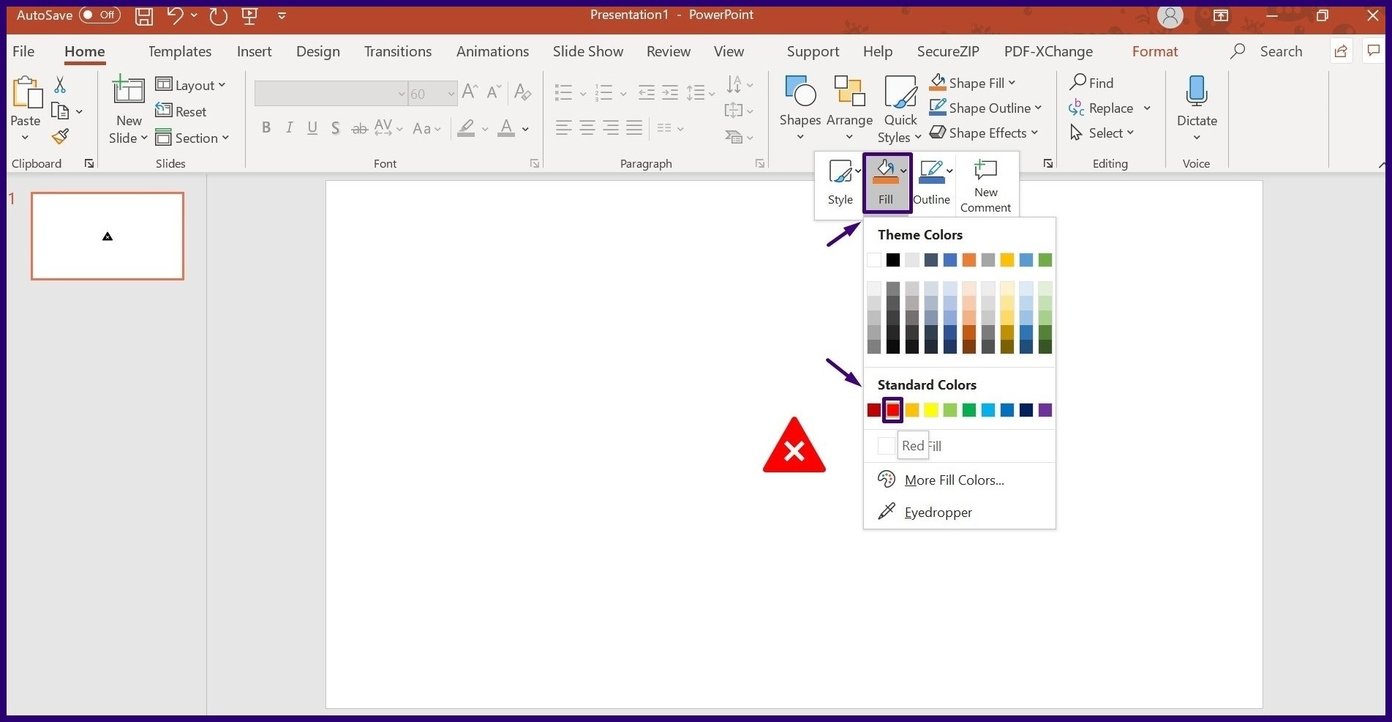
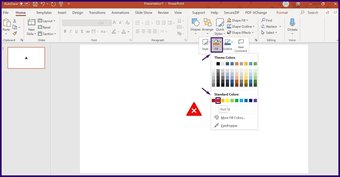
Krok 5: Następnie kliknij prawym przyciskiem myszy i wybierz preferowany kolor dla wybranej ikony.
Ta metoda jest łatwa, prosta i oszczędza czas. Jednak ogranicza Cię tylko do opcji podanych przez oprogramowanie. Innymi słowy, będziesz mieć ograniczone możliwości.
2. Konwertuj emotikony na ikony
Tak, dobrze przeczytałeś. Możesz przekonwertować emotikony na ikony, wykonując następujące czynności:
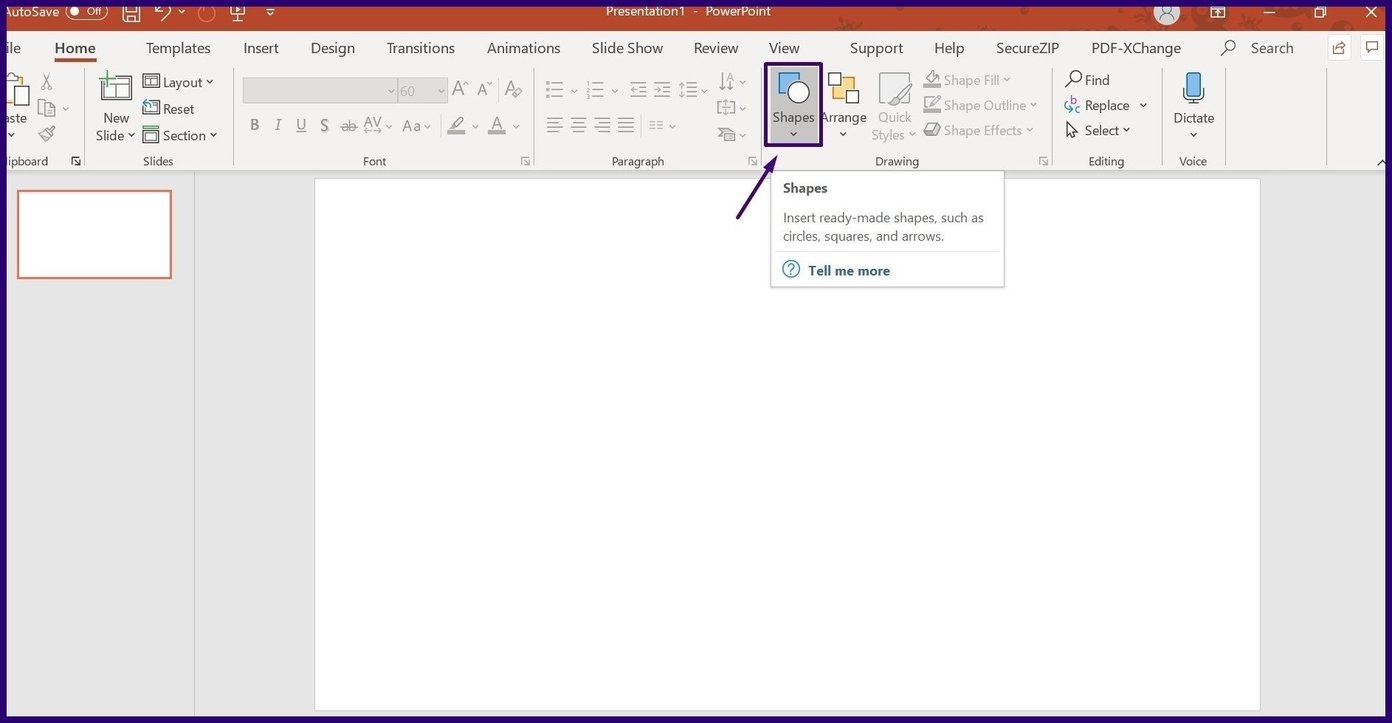
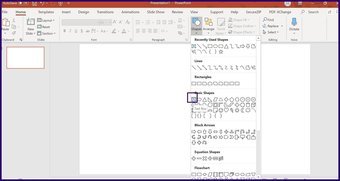
Krok 1: Na wstążce wybierz kartę Kształty.
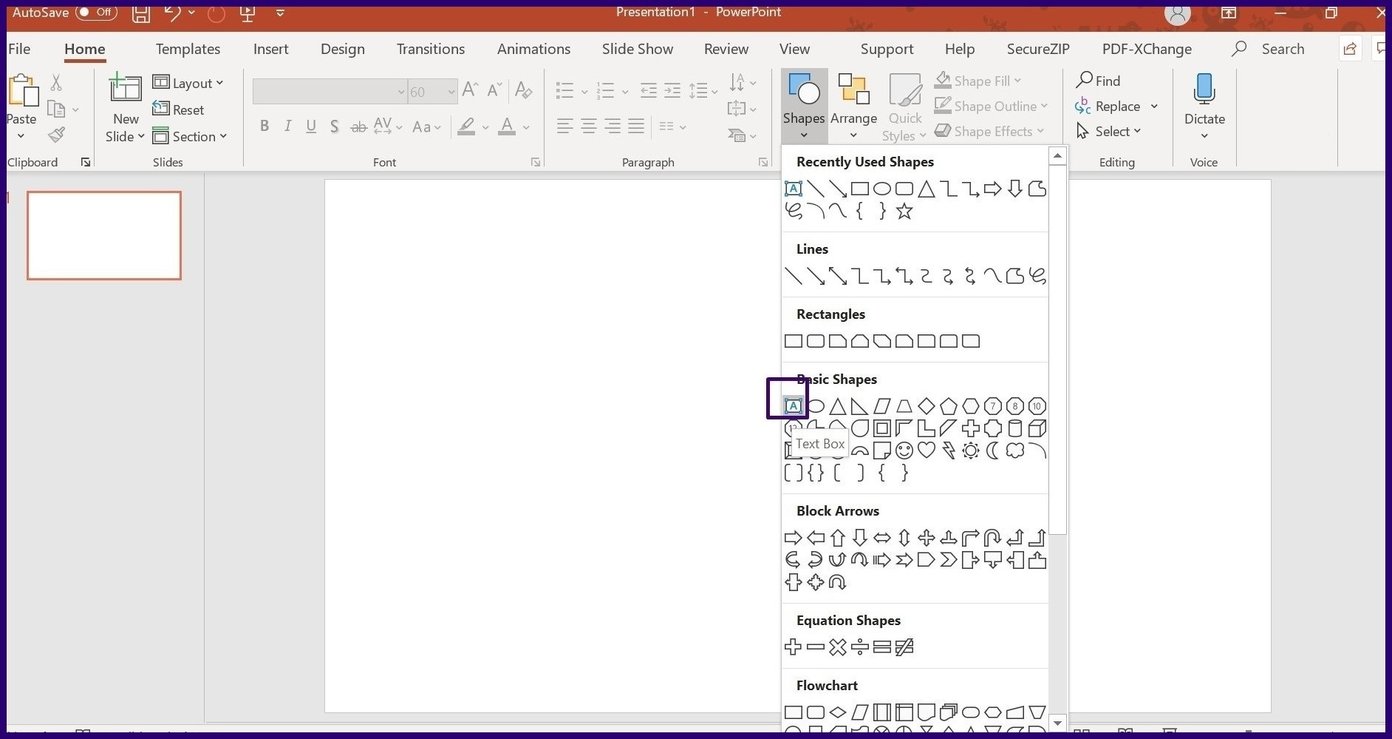
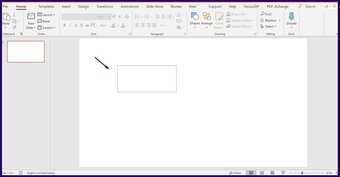
Krok 2: Wybierz opcję wstawiania pola tekstowego.
Krok 3: Narysuj swoje pole tekstowe w dowolnym miejscu na slajdzie programu PowerPoint.

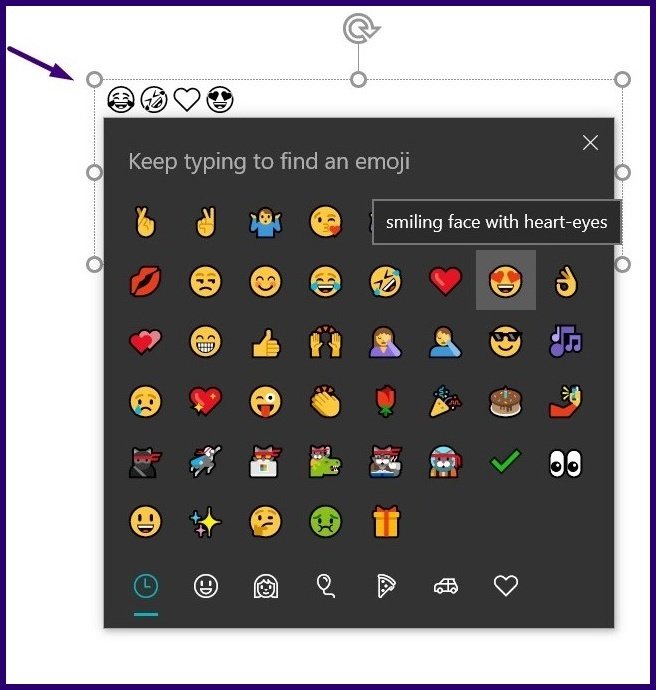
Krok 4: Naciśnij i przytrzymaj Windows +. (kropka) klucze razem. Następnie pojawi się menu emoji.
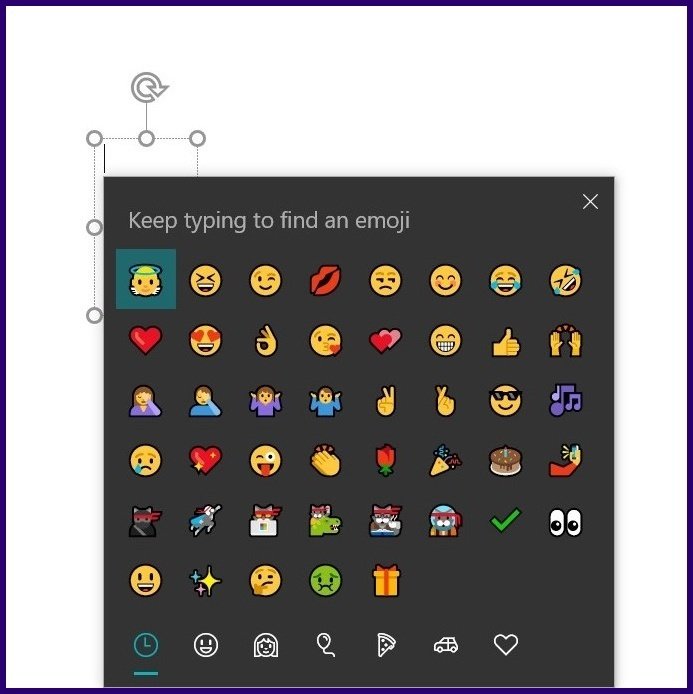
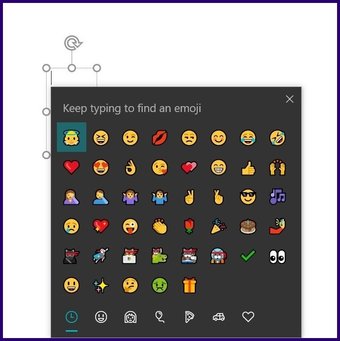
Krok 5: Wybierz preferowany emoji, który powinien pojawić się w polu tekstowym.
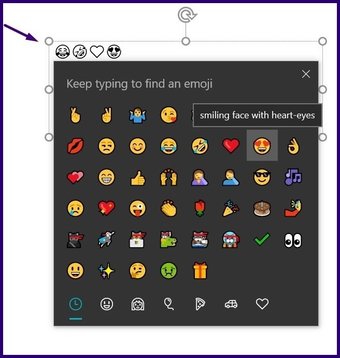
Krok 6: Wybierz kartę Kształty i wstaw prostokąt nad emoji.


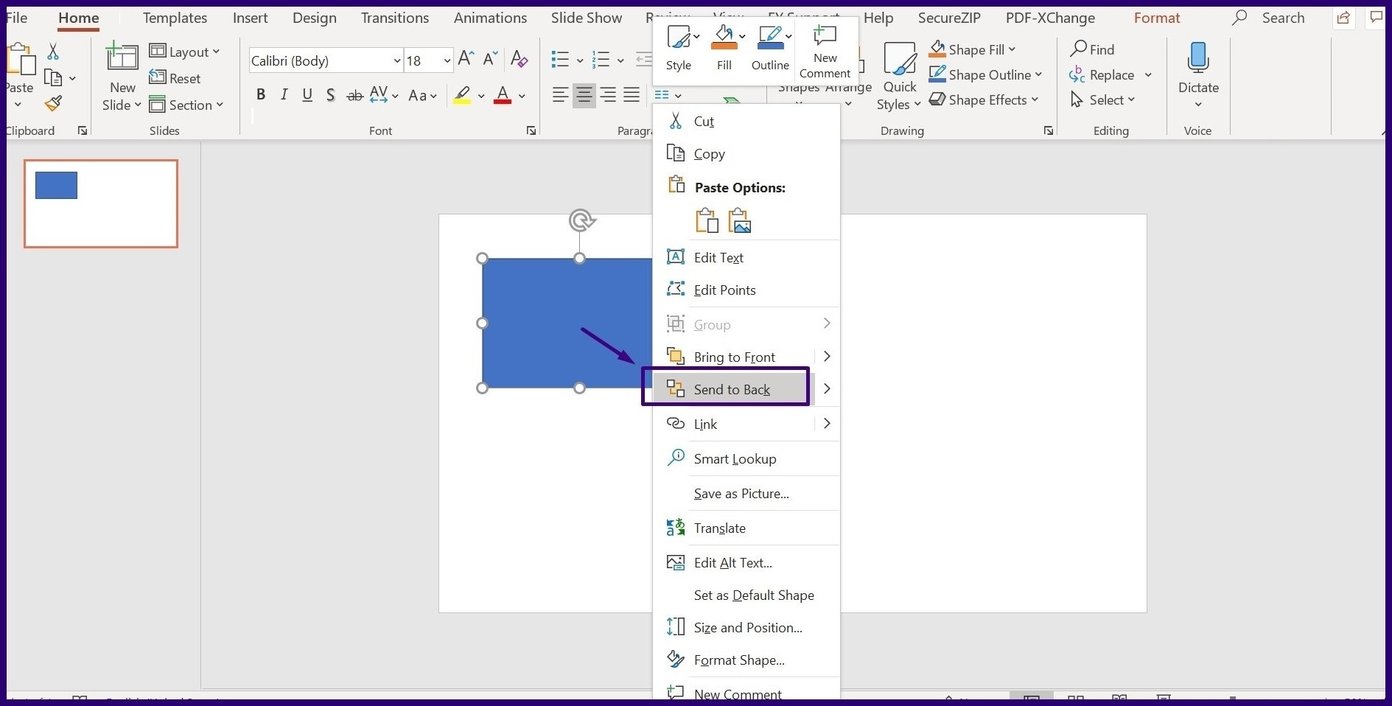
Krok 7: Kliknij prawym przyciskiem myszy prostokąt i kliknij Wybierz do tyłu. Powinno to spowodować emoji do przodu.

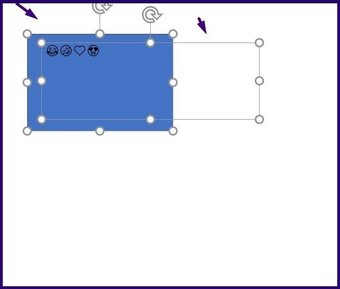
Krok 8: Kliknij prostokąt, przytrzymaj klawisz Ctrl i kliknij pole tekstowe z emoji.

Step 9: Click on Format, Merge Shapes and Intersect and the emoji becomes an Icon.

Step 10: To change the color of the Icon, simply right-click and select your preferred Fill or Outline color.

You can choose from a wide range of options, and that’s cool. Also, the method is available to both Windows and Mac users. However, this method works only for Window 10 and not the earlier editions.
3. Create Icons Using Shapes
This method is perhaps the most creative as it gives room for innovation and creativity. It involves the use of Shapes and the Merge feature on PowerPoint.
Step 1: Using a search engine, search for an icon you want to create. In our case, we opted to create a warning sign.

Step 2: Break down the components or shapes making up the sign. A simple warning sign has an exclamation mark in the middle of a triangle.

Step 3: Insert the relevant Shapes. In our case we opted for a Triangle, Parallelogram, an Oval and the Delay Flow chart Shape.
Step 4: Combine the relevant Shapes in the form of your envisioned Icon.

Step 5: Highlight the Shapes by holding down your left key and creating a rectangle around them.
Step 6: On your keyboard, click on Ctrl + G to group the shapes.
Since the icons are being created using Shapes, users can create different varieties. The only downside is that you need to know PowerPoint well enough to pull this off for achieving a desired look.
Make Presentations Fun
One or all of the methods mentioned above should be useful in helping you add diversity to your Microsoft Presentations. Alternatively, if none of the above options are up your alley, you can always browse through the Internet for ready-made icons and insert them in your Presentation. However, a downside to this seemingly easy method is that the scalable vector graphics aren’t always free.
Thinking of more cool tricks you can do on Microsoft PowerPoint? Check out this cool method of creating animations on Microsoft PowerPoint.
The above article may contain affiliate links which help support Guiding Tech. However, it does not affect our editorial integrity. The content remains unbiased and authentic.