Kalendarz pakietu Microsoft Office jest częścią produktów platformy Microsoft 365 i nie jest samodzielnym programem. Aby uzyskać dostęp do kalendarza Microsoft Office, musisz skorzystać z programu Microsoft Outlook.


Integracja obu aplikacji ułatwia zarządzanie harmonogramem zarówno z perspektywy cyfrowej, jak i fizycznej. Jeśli jednak chcesz lepiej zarządzać swoim Kalendarzem Microsoft Outlook, wypróbuj niektóre z poniższych wskazówek.
1. Jak ustawić godziny pracy w kalendarzu Outlooka
Ustawienie godzin pracy w Outlooku zapewnia, że każdy przeglądający Twój kalendarz zna Twoje dostępne godziny pracy. W ten sposób terminy i spotkania są ustawiane według dostępnych okresów.
Krok 1: Uruchom aplikację Outlook.
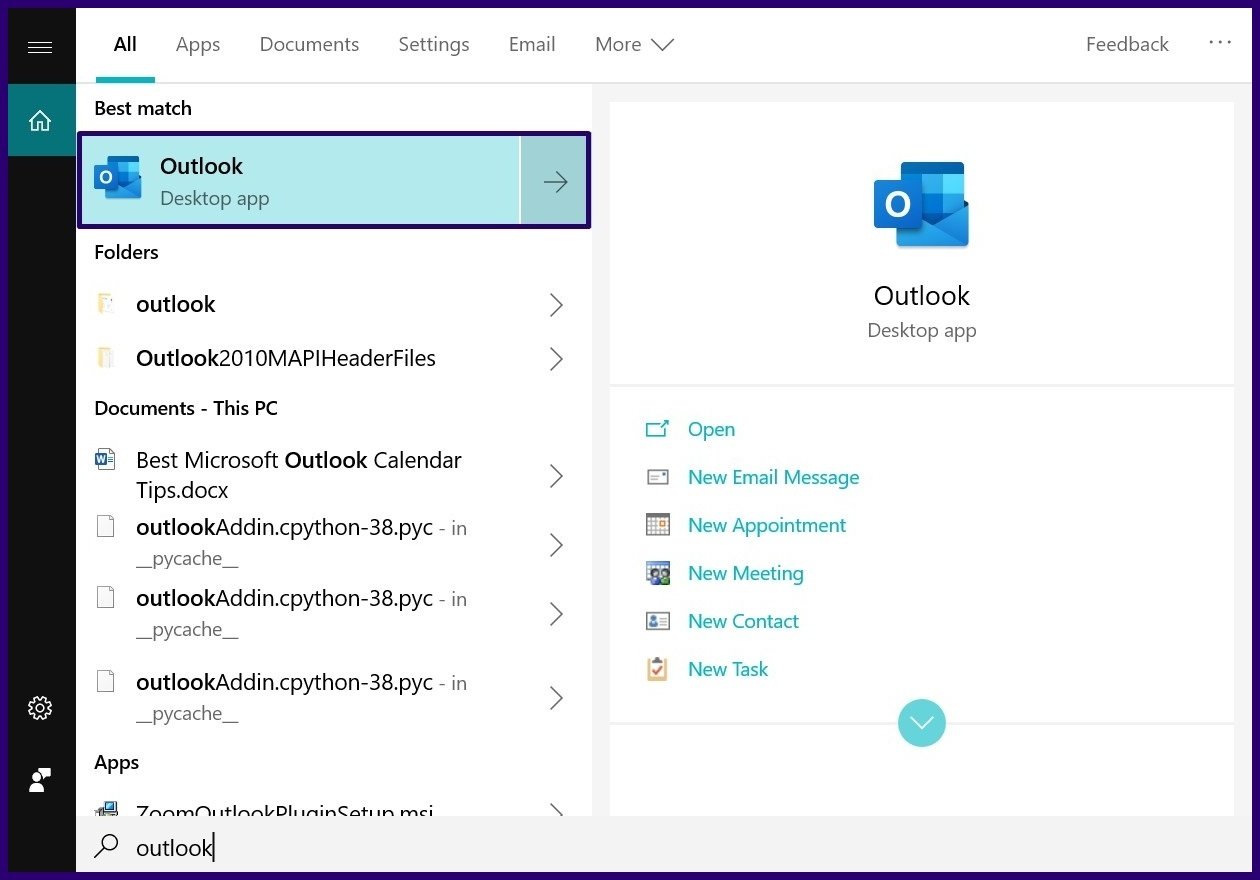

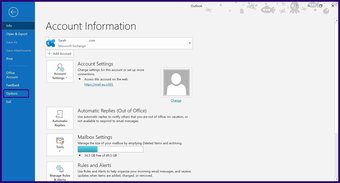
Krok 2: Po uruchomieniu Outlooka kliknij kartę Plik.
Krok 3: Kliknij przycisk Opcje.

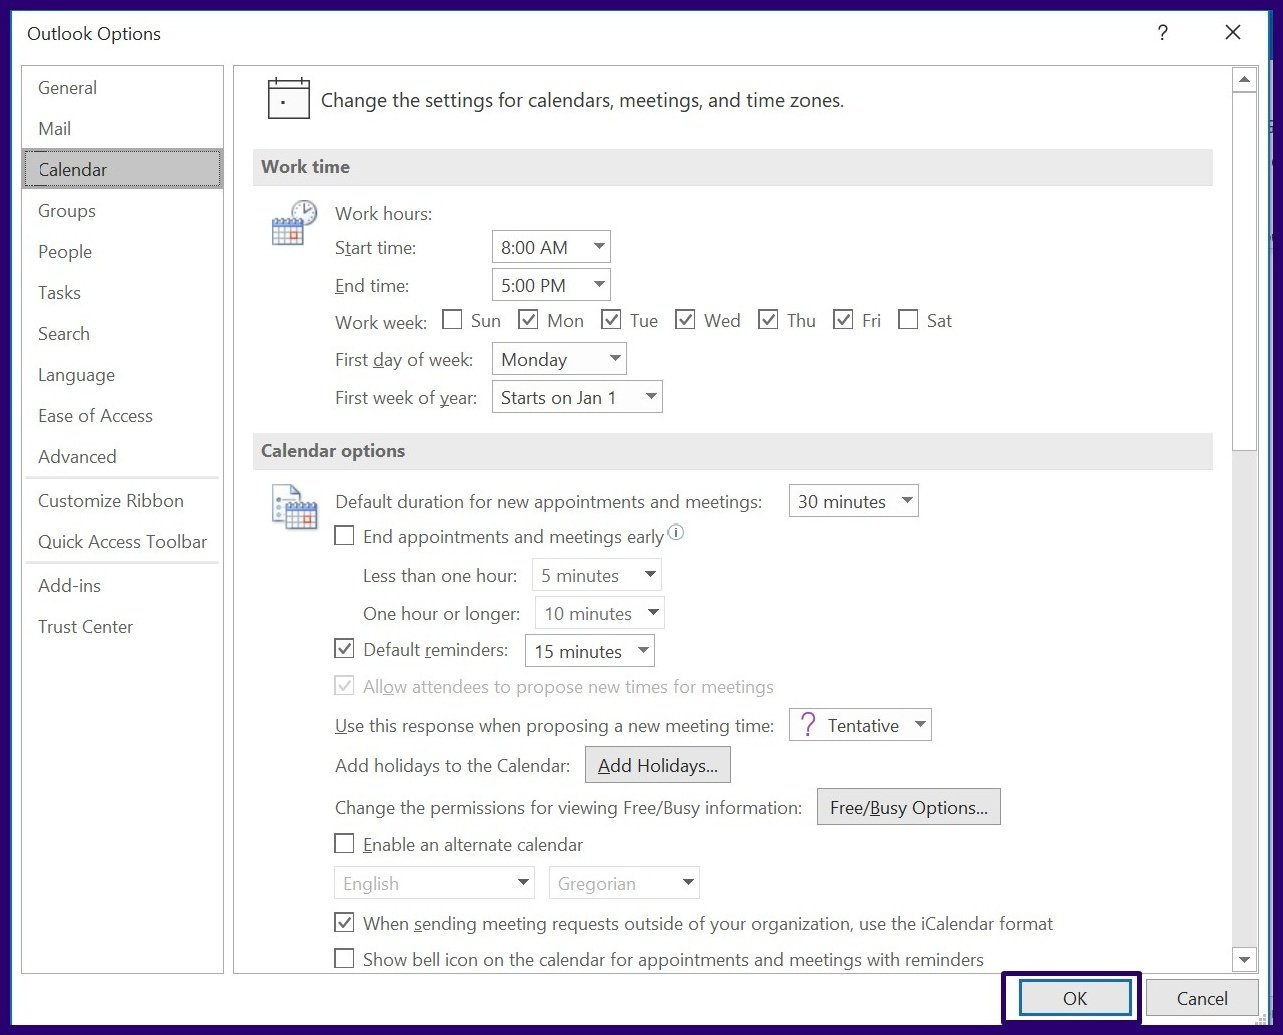
Krok 4: Wybierz Kalendarz.


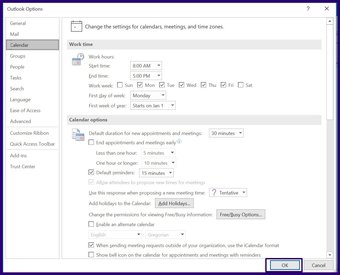
Krok 5: W menu Czas pracy wprowadź szczegóły dotyczące czasu rozpoczęcia i zakończenia , Tydzień pracy, Pierwszy dzień tygodnia i Pierwszy dzień roku.
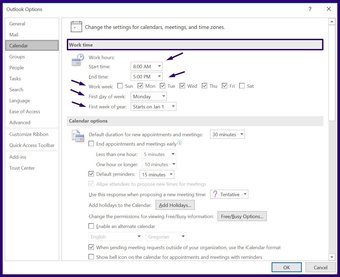
Krok 6: Kliknij OK, aby zapisać zmiany.
2. Odtworzenie spotkania
Odtworzenie spotkania to sposób na rezerwowanie nowego spotkania przy użyciu informacji z poprzedniego spotkania. W ten sposób zamiast ręcznie wprowadzać dane uczestników spotkania, czas, lokalizację itp., zaoszczędzisz czas i wysiłek, odtwarzając stare spotkanie. Oto jak to zrobić.
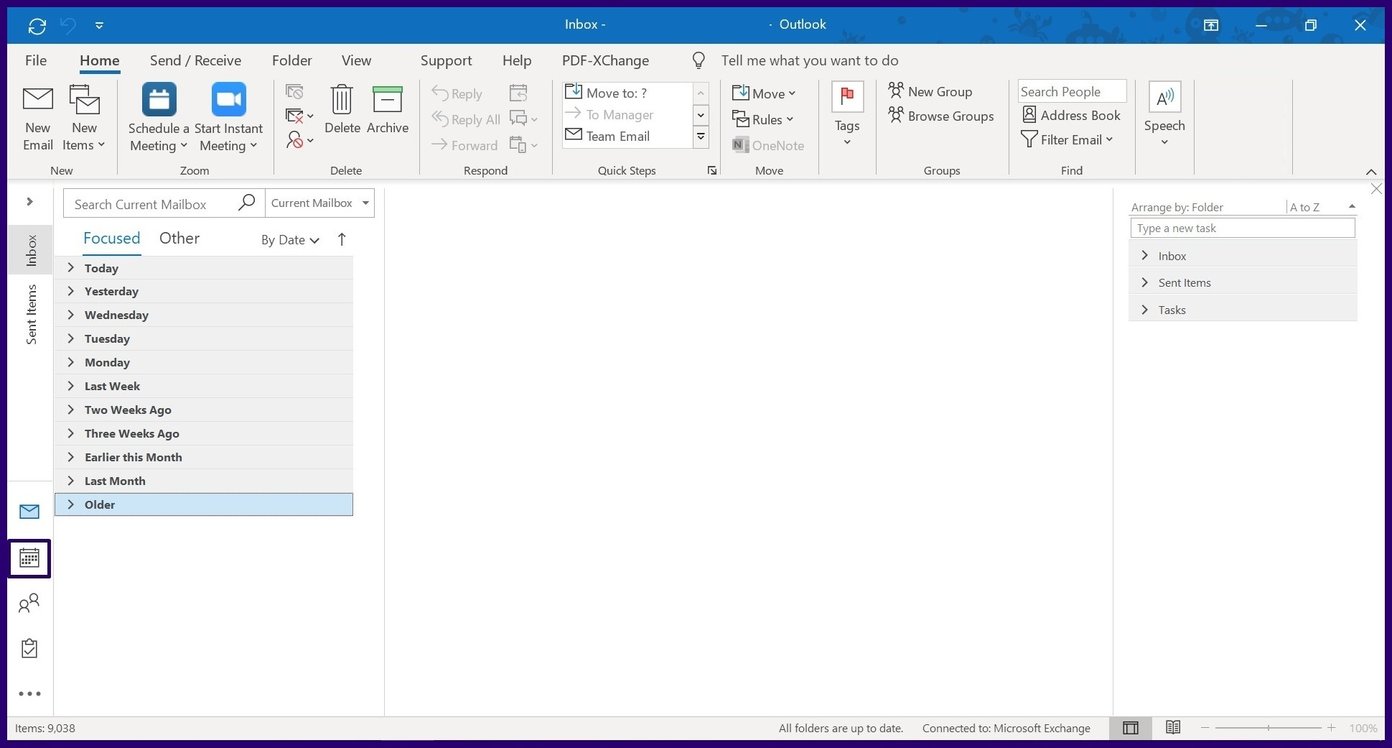
Krok 1: Uruchom aplikację Outlook.


Krok 2: Wybierz ikonę Kalendarza po lewej stronie ekranu
Krok 3: Przejdź do kalendarza do daty poprzedniego spotkania.

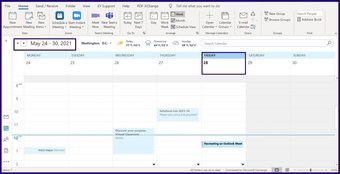
Krok 4: Kliknij dane spotkanie, przytrzymaj klawisz Ctrl i przeciągnij spotkanie do datę lub godzinę, o której ma się odbyć nowe spotkanie.

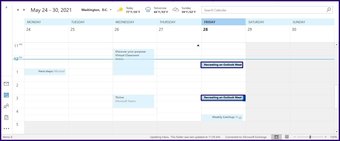
Krok 5: Kliknij dwukrotnie nowo utworzone spotkanie, a wszystkie istotne szczegóły zostaną wyświetlone jako zaludniony. Kliknij Wyślij, aby wysłać zaproszenie.

3. Tworzenie spotkania z wiadomości e-mail
Gdy otrzymasz wiadomość e-mail o wydarzeniu i chcesz umówić się na spotkanie z nadawcą wiadomości e-mail, wykonaj poniższe czynności.
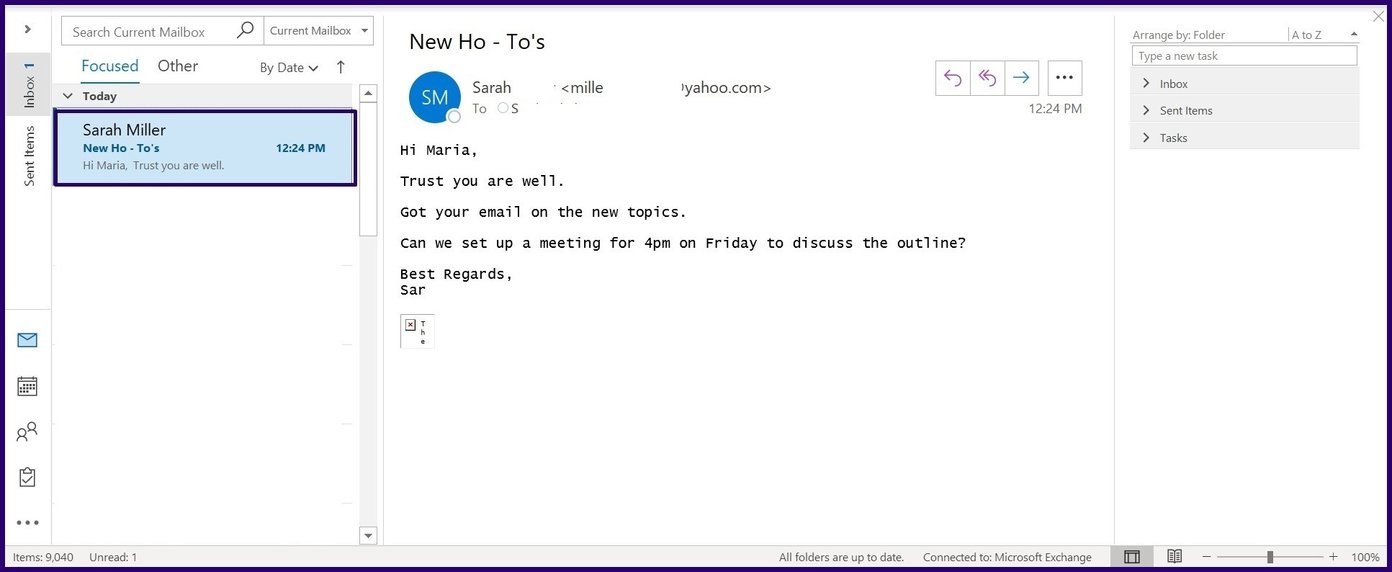
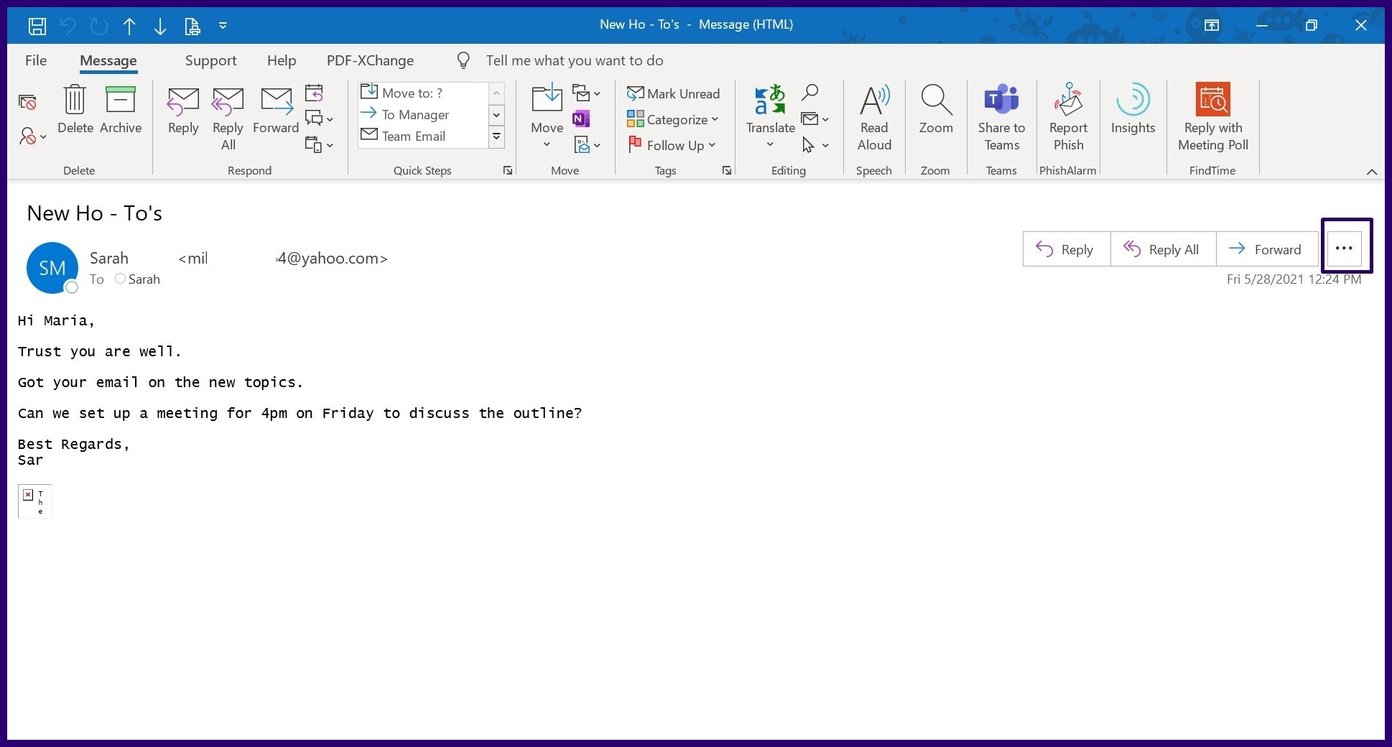
Krok 1: Kliknij dwukrotnie wiadomość e-mail, której będziesz używać do ustawienia spotkania, aby otworzyć nowe okno.
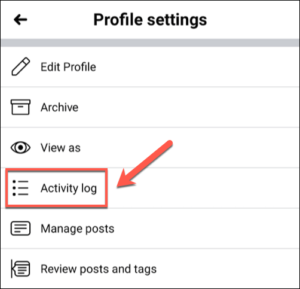
Krok 2: Kliknij przycisk wielokropka (…) po prawej stronie ekranu, tuż obok imię i nazwisko nadawcy wiadomości e-mail.
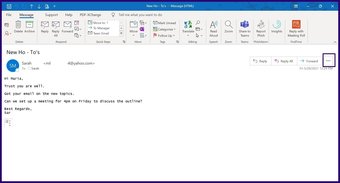
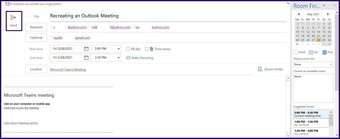
Step 3: Select the Meeting option and this should open a new meeting window.

Step 4: The email sender’s name or address should already be auto-populated in the Required field. However, you will need to populate other details such as Meeting Location and Time.

Step 5: Click the Send button.

4. Date Navigator
If you want to get a view of your appointments or meetings for a week or month, the date navigator on the Calendar can provide that.
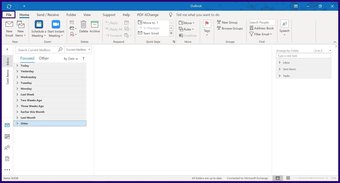
Step 1: Select the Calendar icon on the left of your Outlook screen.

Step 2: At the top of your screen, there should be options to view your Calendar for Today, Next 7 Days, Work Week or Month. Choose your preferred view.

5. Using Natural Language to Book Meeting Start Times
When booking a meeting or appointment, you may opt to use the Date Navigator to get a view of your calendar for the period. An alternative to using the Date Navigator option in Outlook is Natural Language. Here’s how to use it.
Step 1: On the Home tab in Outlook, select New Items.

Step 2: Select Meeting or Appointment depending on your preference.

Step 3: In the field for Start Time instead of choosing a date from the calendar, simply type a proposed time in words. na przykład 7 weeks, Christmas, Thanksgiving etc. Outlook should bring out a date.

6. Viewing Multiple Calendars
If you would like to set up a meeting with individuals in Outlook, you can view their calendars to check for a suitable time to schedule a meeting or a chat. However, this depends on if you have been granted permission to do so on Exchange or the individual is part of your organization. Oto jak to działa.
Step 1: Select the Calendar icon on the left of your Outlook screen.

Step 2: At the top of your screen, click the Open Calendar option.

Step 3: If you’ve been granted permission to view the Calendar via Exchange, select Open Shared Calendar. However, if the person is within your organization, select From Address Book. If you have a link to a calendar on the internet, you can also select From Internet.

Step 4: Input the name or link (depending on the chosen option) of the individual and select OK. You should get a view of the calendar of the individual.

Setting Out of Office Responses
The tips above should help you manage your Outlook Calendar better. However, they are not exhaustive as there are other tricks you can perform on Outlook such as setting Out of Office Responses and Serial Reminders.
The above article may contain affiliate links which help support Guiding Tech. However, it does not affect our editorial integrity. The content remains unbiased and authentic.