場所、特に不明な場所をナビゲートするための最良の方法の1つは、地図を使用することです。 iPhoneを使用している場合は、AppleMapsが最適なナビゲーションアプリである可能性があります。

<!-[IE9の場合]> <オーディオ> <![endif]->
アプリには現在約
1。クラウドソーシングの関心のあるポイントアクティビティ
場所、特に不明な場所をナビゲートするための最良の方法の1つは、地図を使用することです。 iPhoneを使用している場合は、AppleMapsが最適なナビゲーションアプリである可能性があります。
アプリには現在約
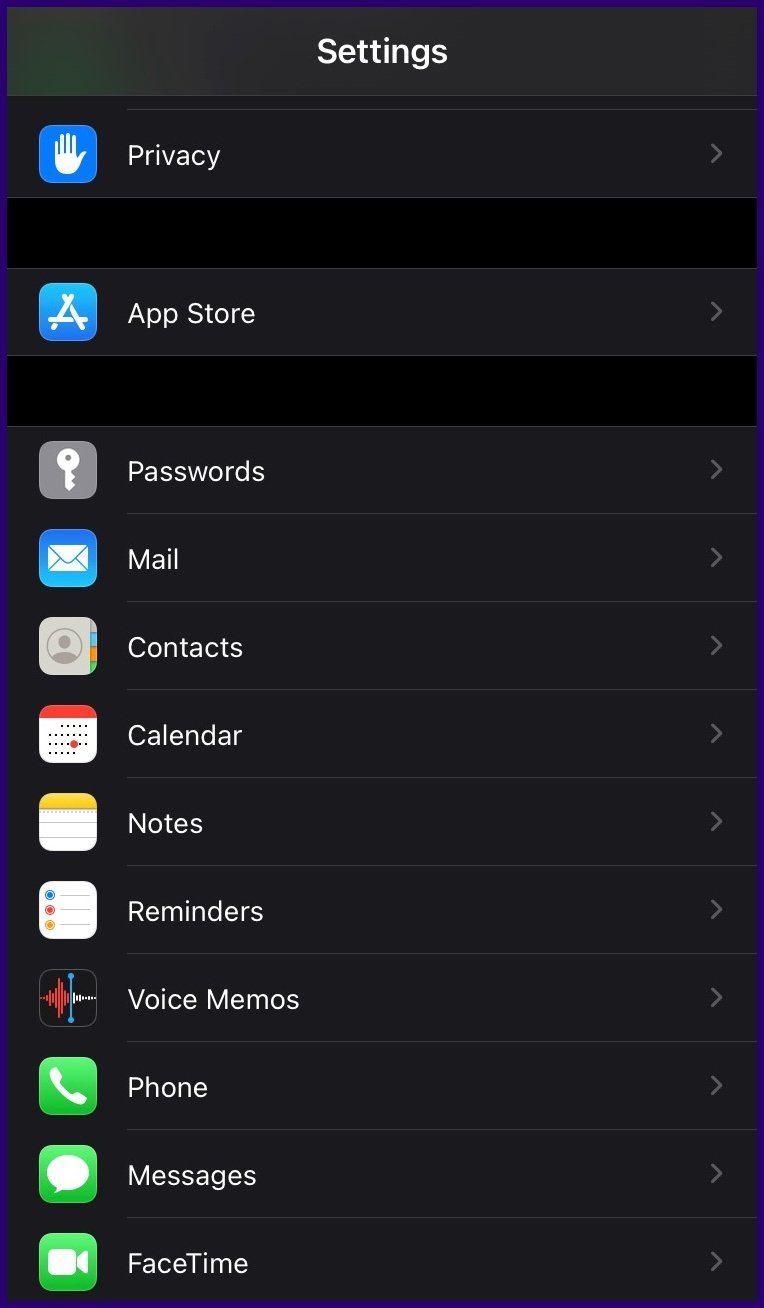
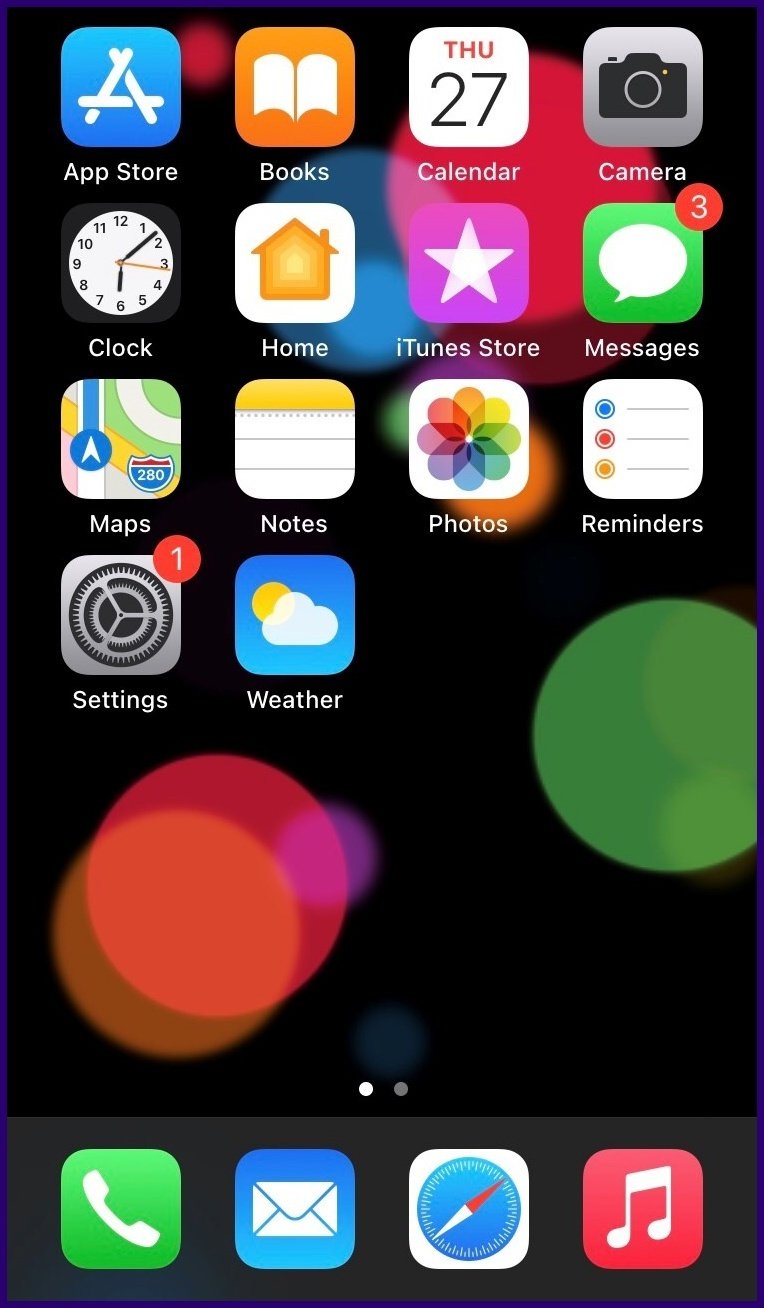
手順1:設定アプリを起動します。


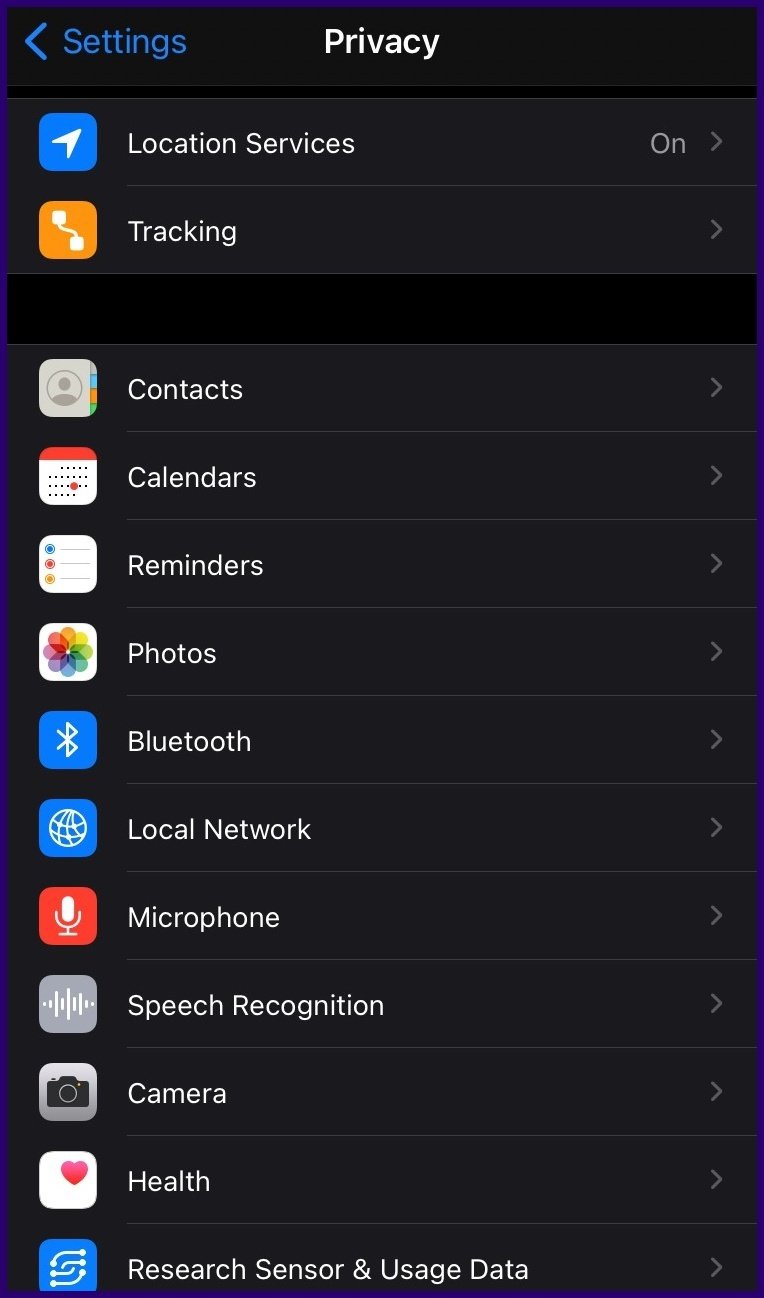
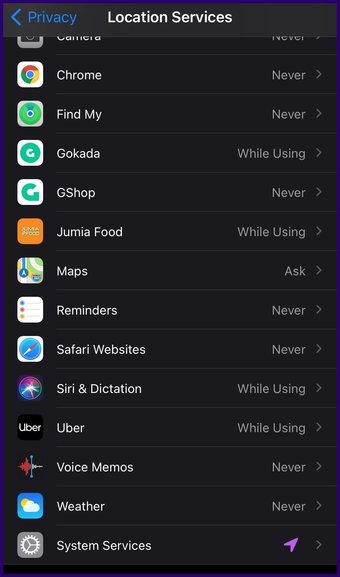
ステップ2:プライバシーオプションまで下にスクロールします。

ステップ3:位置情報サービスをタップします。

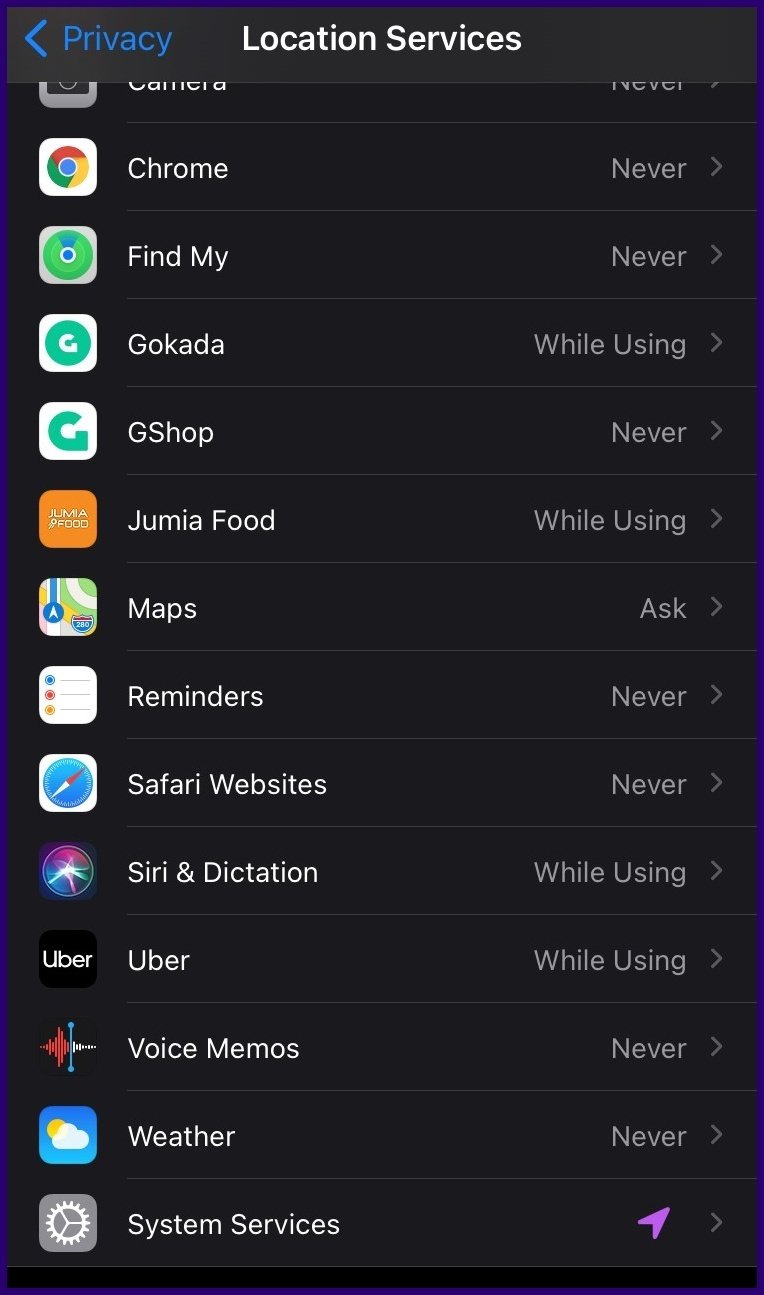
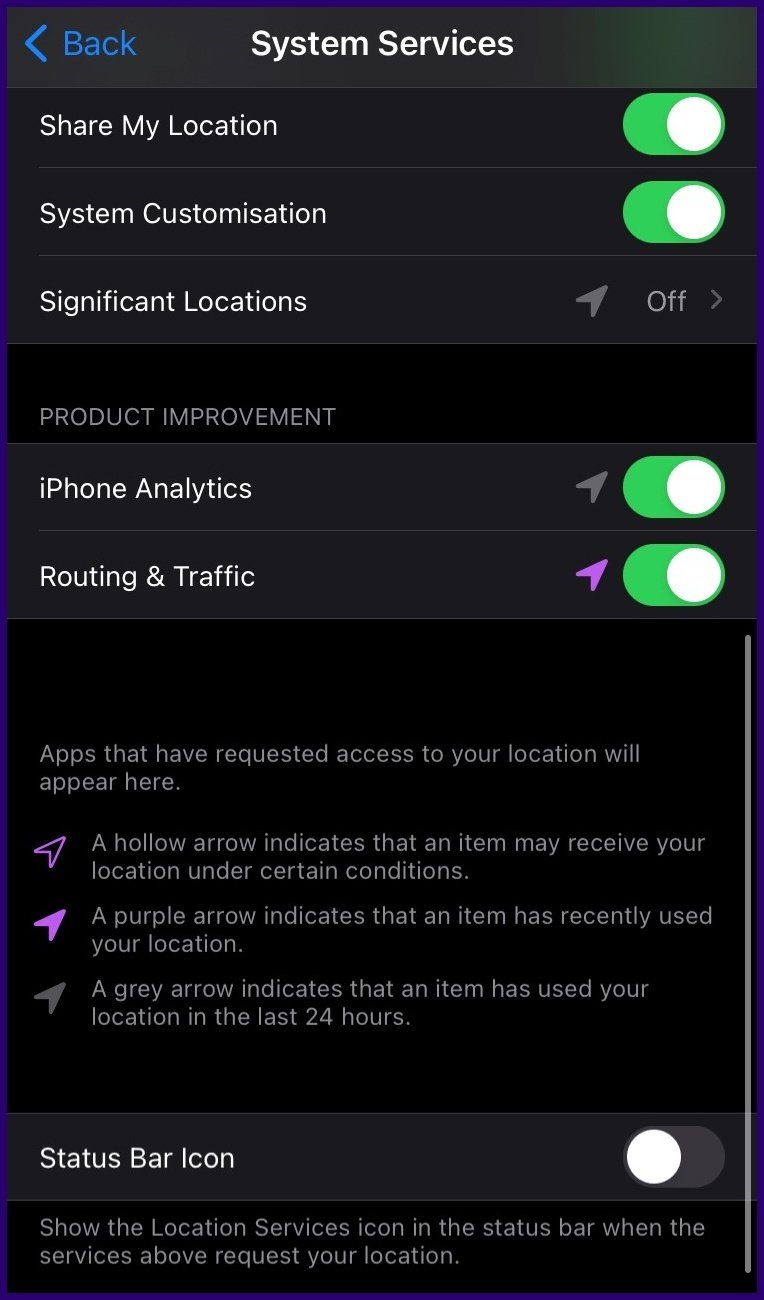
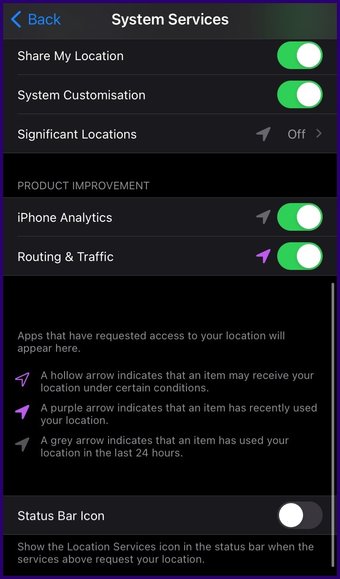
ステップ4:システムサービスをタップします。
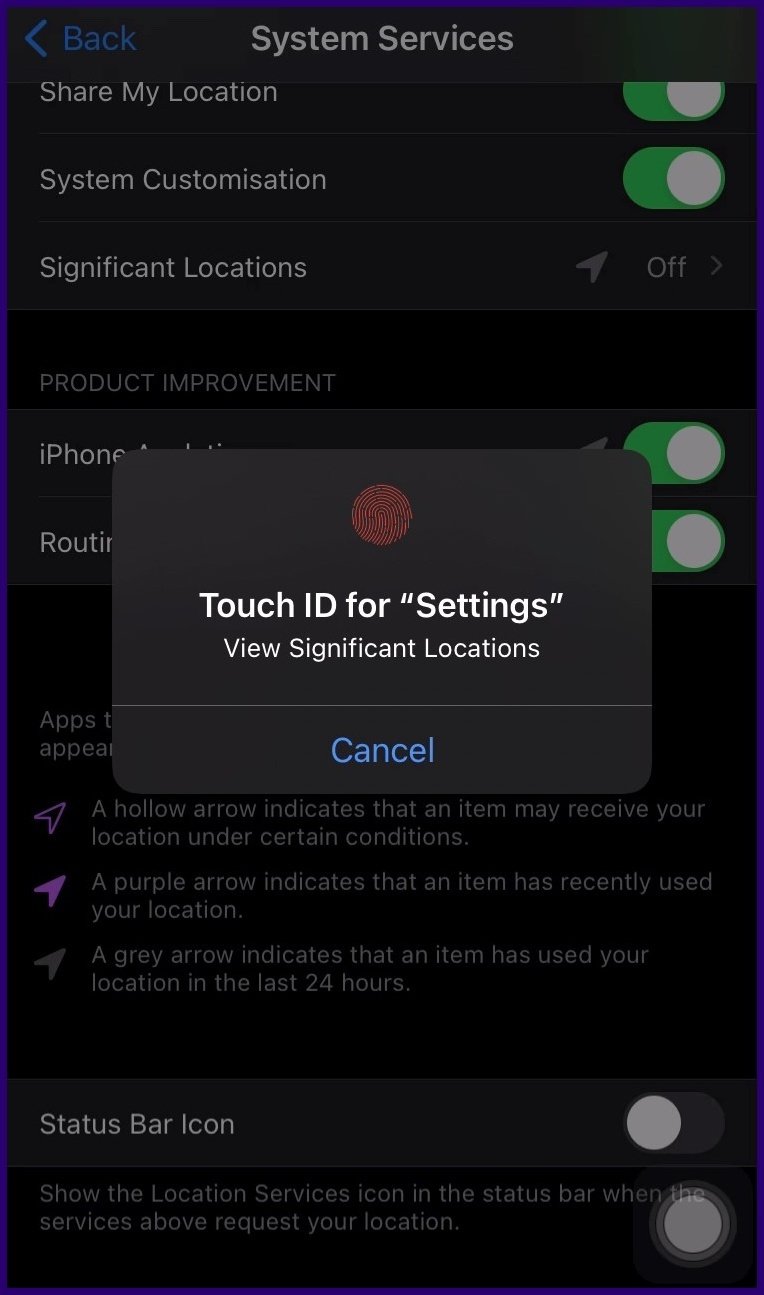
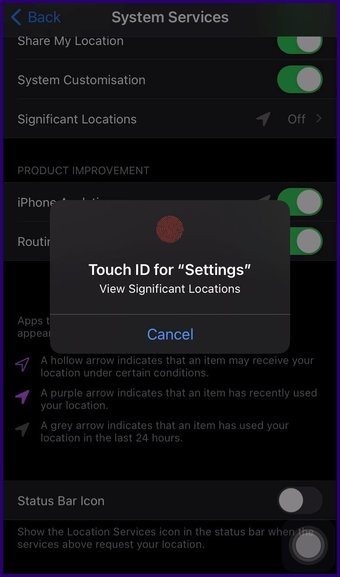
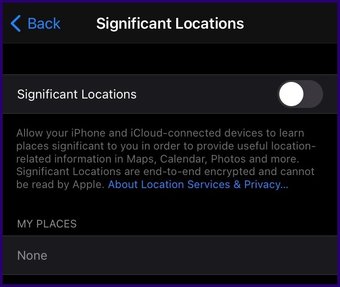
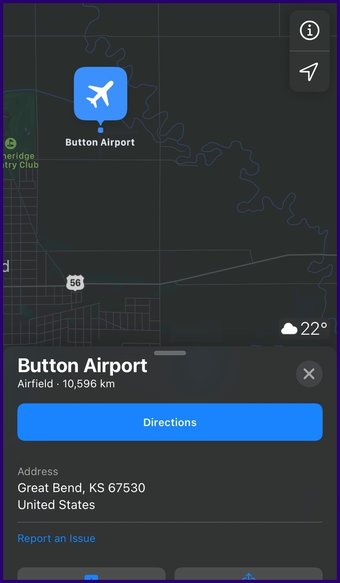
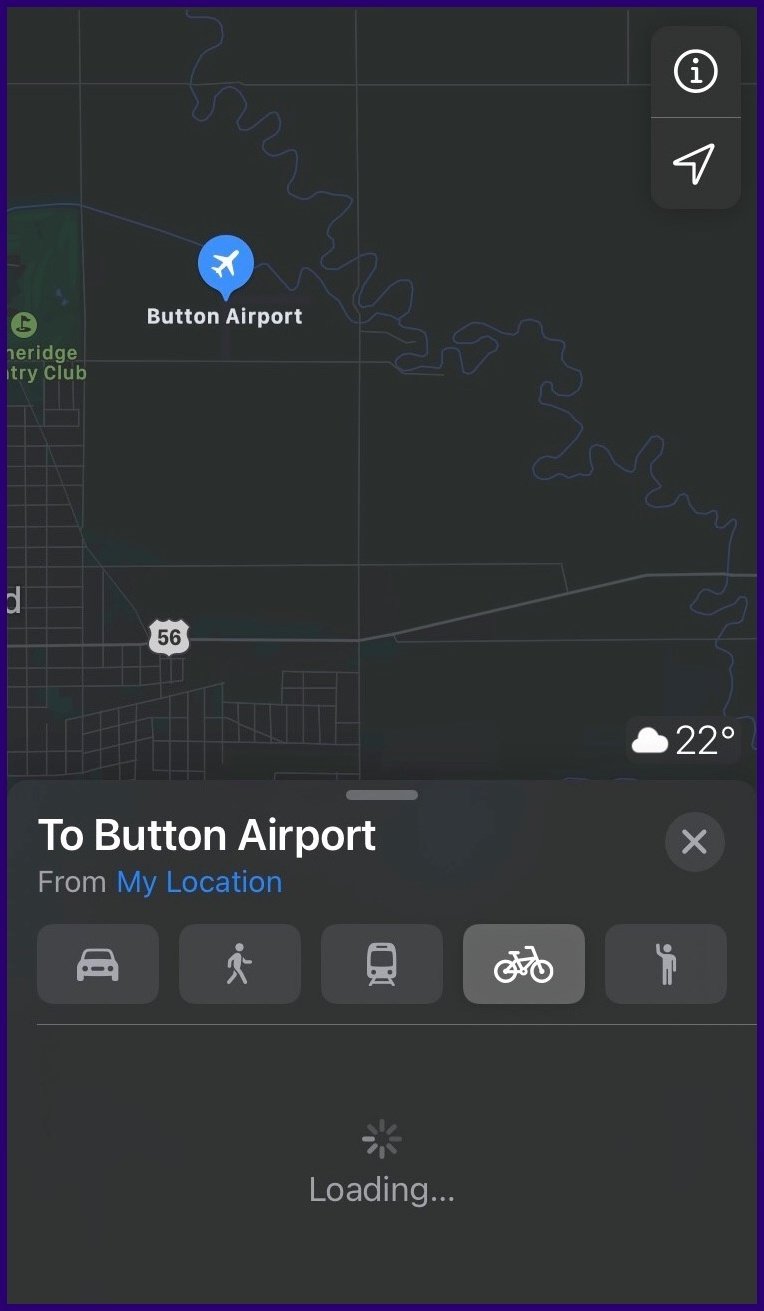
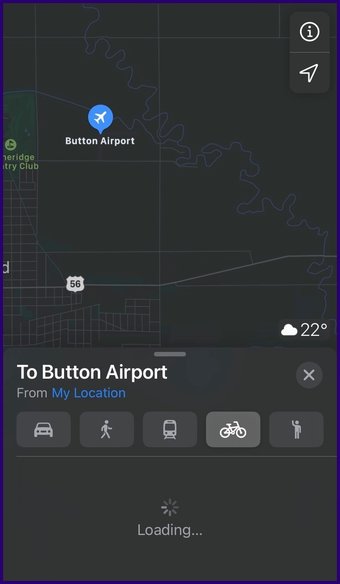
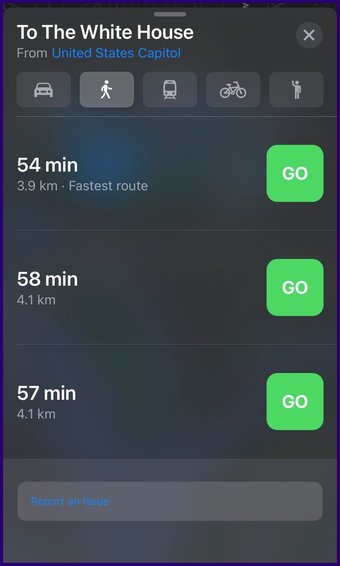
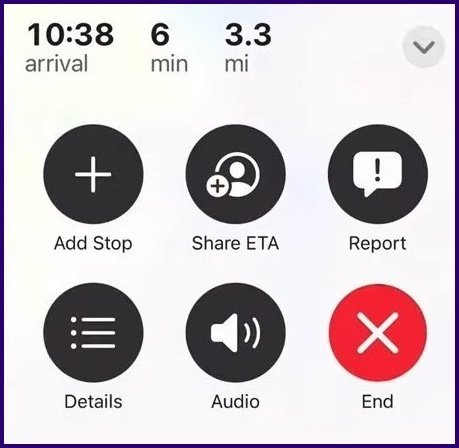
<図class=""> ステップ5: [重要な場所]オプションを探します。テキストに[オフ]と表示されている場合は、タップします。 ステップ6: Touch ID、Face ID、またはパスコードの詳細。 ステップ7:スライダーをタップします。緑色の塗りつぶしが表示されたら、機能がアクティブ化されたことを意味します。 このiOS14.5の機能を使用すると、到着予定時刻(ETA)、旅の進行状況、ルートのライブビューを友人や家族と共有します。以前のiOSバージョンでは、ユーザーは運転中にETAを共有することしかできませんでした。これで、以下の手順を使用して、歩いたり自転車に乗ったりしながら共有できます。 手順1: AppleMapsを起動します。 ステップ2:目的地を検索してタップします。 ステップ3: [ルート]ボタンをタップしてルーティングオプションを取得します。 ステップ4:サイクリングまたはウォーキングのアイコンをタップしてETAを取得します。 ステップ5:優先ルートを選択します。 ステップ6:指示がアクティブになったら、画面の下部にある[ETAの共有]をタップします。 Apple Map users with iOS 14.5 on their devices can now share traffic incidents such as speed checks, hazards, and traffic accidents while on a route. Here’s how it works. Step 1: Launch Apple Maps. Step 2: Search for your Destination and Tap on it. Step 3: Tap on the Directions button to get routing options. Step 4: Tap the Driving Icon. Step 5: Select a preferred route. Step 6: Swipe up from the bottom of the screen and a button to Report should be available. Step 7: Select the Incident being reported Accident, Hazard or Speed Check and this will be recorded. It is important to note that the Report button is crowdsourced and will only be flagged on the map when several users report the same incident. As its name implies, this feature allows you to add pitstops to your route. Step 1: Launch Apple Maps. Step 2: Search for your Destination and Tap on it. Step 3: Tap on the Directions button to get routing options. Step 4: Tap the Driving Icon. Step 5: Select a preferred route. Step 6: Swipe up from the bottom of the screen and tap the Add Stop button. Step 7: Select any of Lunch, Gas Station, Coffee, Parking, Convenience, and Banks buttons. This should depend on the purpose of the pitstop. You can add your most visited places or preferred spots to favorites on Apple Maps. Doing this, makes it easy to get directions on the Map instead of typing out the address every time. Step 1: Launch Apple Maps. Step 2: At the bottom of the screen, there should be a menu card with a section for Favorites. Step 3: Tap the Add (+) icon. Step 4: Within the search bar, type out the name of your favorite location and select + to add. Step 5: The address of the location should open in a new menu. Ensure all details are correct then tap Done. Your saved location should now appear under Favorites. This feature allows you to search for places of interest. Here’s how it works. Step 1: Launch Apple Maps. Step 2: Input the location you need a guide for within the search bar. Step 3: The results should bring up guides for the location. Step 4: Select See More to see all guides for your location. If you have an Apple user, you can try out all the above-mentioned features to get a feel of each of them and find out if your Apple Map is working as it should.
<写真>
<!-[IE9の場合]> <オーディオ> <![endif]->
<!-[IE9の場合]> <オーディオ> <![endif]->
<!-[IE9の場合]> <オーディオ> <![endif]->

<!-[IE9の場合]> <オーディオ> <![endif]->
2。ウォーキングやサイクリングの際にETAを共有する
<!-[IE9の場合]> <オーディオ> <![endif]->


<!-[IE9の場合]> <オーディオ> <![endif]->

<!-[IE9の場合]> <オーディオ> <![endif]->
<!-[IE9の場合]> <オーディオ> <![endif]->

<!-[IE9の場合]> <オーディオ> <![endif]->
<!-[IE9の場合]> <オーディオ> <![endif]->

3. Report a Traffic Accident/Hazard/Speed Check


4. Choose Pitstops


5. Save Your Favorite Places


6. Find Guides to Cities


Apple Maps Not Working
The above article may contain affiliate links which help support Guiding Tech. However, it does not affect our editorial integrity. The content remains unbiased and authentic.